(Editing a gallery) |
|||
| (38 intermediate revisions by 24 users not shown) | |||
| Line 1: | Line 1: | ||
| − | [[File: |
+ | [[File:Brink Archetypes.png|thumb|300px]]Character '''archetypes''' are basic "themes" that can be assigned to a player's character via the [[Character Customization]] menu. Archetypes separate the many differing articles of clothing and gear into a few broader categories. Every archetype belongs to either [[Security|the Security]] or [[Resistance]] faction. |
Selecting an archetype for any applicable part of the body will give the player access to more options within that archetype; i.e.: selecting "The Bug" archetype for the head gear of a character will allow you to pick from several different pieces of headgear that match The Bug's general aesthetic theme. |
Selecting an archetype for any applicable part of the body will give the player access to more options within that archetype; i.e.: selecting "The Bug" archetype for the head gear of a character will allow you to pick from several different pieces of headgear that match The Bug's general aesthetic theme. |
||
| − | Archetypes can be mixed and matched on any applicable part of the body as well, but |
+ | Archetypes can be mixed and matched on any applicable part of the body as well, but are limited to archetypes belonging to the same faction- i.e.: Characters can have a pair of pants from "The Jesse" archetype, and a shirt from "The Look" archetype (as they are both [[Security]]) but not anything from a [[Resistance]] archetype, such as "The Anger." |
| + | Archetypes are not unlocked at random, although it does not tell you the level at which you unlock them. In the strategy guide there is a list of all archetypes and the level at which you unlock them. |
||
| + | ==Initial Archetypes== |
||
| + | {|class="wikitable" style="text-align: center" cellpadding="1" cellspacing="4" |
||
| + | ! rowspan="2" width="100%"| The Look |
||
| + | | colspan="2"| [[File:The_Look_1.jpg|80px]] |
||
| + | | colspan="2"| [[File:The_Look_2.jpg|80px]] |
||
| + | | colspan="2"| [[File:The_Look_3.jpg|80px]] |
||
| + | | colspan="2"| [[File:The_Look_4.jpg|80px]] |
||
| + | | colspan="2"| [[File:The_Look_5.jpg|80px]] |
||
| + | |- |
||
| + | | width="75%" height="20" style="background:#9c8375" | |
||
| + | | width="25%" style="background:#98806f" | |
||
| + | | width="75%" style="background:#ac8a71" | |
||
| + | | width="25%" style="background:#ac8a71" | |
||
| + | | width="75%" style="background:#a38066" | |
||
| + | | width="25%" style="background:#ad8a72" | |
||
| + | | width="75%" style="background:#876851" | |
||
| + | | width="25%" style="background:#aa8b72" | |
||
| + | | width="75%" style="background:#937058" | |
||
| + | | width="25%" style="background:#ac8a72" | |
||
| + | |- |
||
| + | ! rowspan="2" width="100%"| The Geezer |
||
| + | | colspan="2"| [[File:The_Geezer_1.jpg|80px]] |
||
| + | | colspan="2"| [[File:The_Geezer_2.jpg|80px]] |
||
| + | | colspan="2"| [[File:The_Geezer_3.jpg|80px]] |
||
| + | | colspan="2"| [[File:The_Geezer_4.jpg|80px]] |
||
| + | | colspan="2"| [[File:The_Geezer_5.jpg|80px]] |
||
| + | |- |
||
| + | | width="75%" height="20" style="background:#9c8375" | |
||
| + | | width="25%" style="background:#98806f" | |
||
| + | | width="75%" style="background:#ac8a71" | |
||
| + | | width="25%" style="background:#ac8a71" | |
||
| + | | width="75%" style="background:#a38066" | |
||
| + | | width="25%" style="background:#ad8a72" | |
||
| + | | width="75%" style="background:#876851" | |
||
| + | | width="25%" style="background:#aa8b72" | |
||
| + | | width="75%" style="background:#937058" | |
||
| + | | width="25%" style="background:#ac8a72" | |
||
| + | |- |
||
| + | ! rowspan="2" width="100%"| The Chin |
||
| + | | colspan="2"| [[File:The_Chin_1.jpg|80px]] |
||
| + | | colspan="2"| [[File:The_Chin_2.jpg|80px]] |
||
| + | | colspan="2"| [[File:The_Chin_3.jpg|80px]] |
||
| + | | colspan="2"| [[File:The_Chin_4.jpg|80px]] |
||
| + | | colspan="2"| [[File:The_Chin_5.jpg|80px]] |
||
| + | |- |
||
| + | | width="75%" height="20" style="background:#6e5646" | |
||
| + | | width="25%" style="background:#8d7360" | |
||
| + | | width="75%" style="background:#7b5d48" | |
||
| + | | width="25%" style="background:#8a6b57" | |
||
| + | | width="75%" style="background:#6f5441" | |
||
| + | | width="25%" style="background:#7b604c" | |
||
| + | | width="75%" style="background:#664b3c" | |
||
| + | | width="25%" style="background:#6c5542" | |
||
| + | | width="75%" style="background:#594334" | |
||
| + | | width="25%" style="background:#644e3f" | |
||
| + | |- |
||
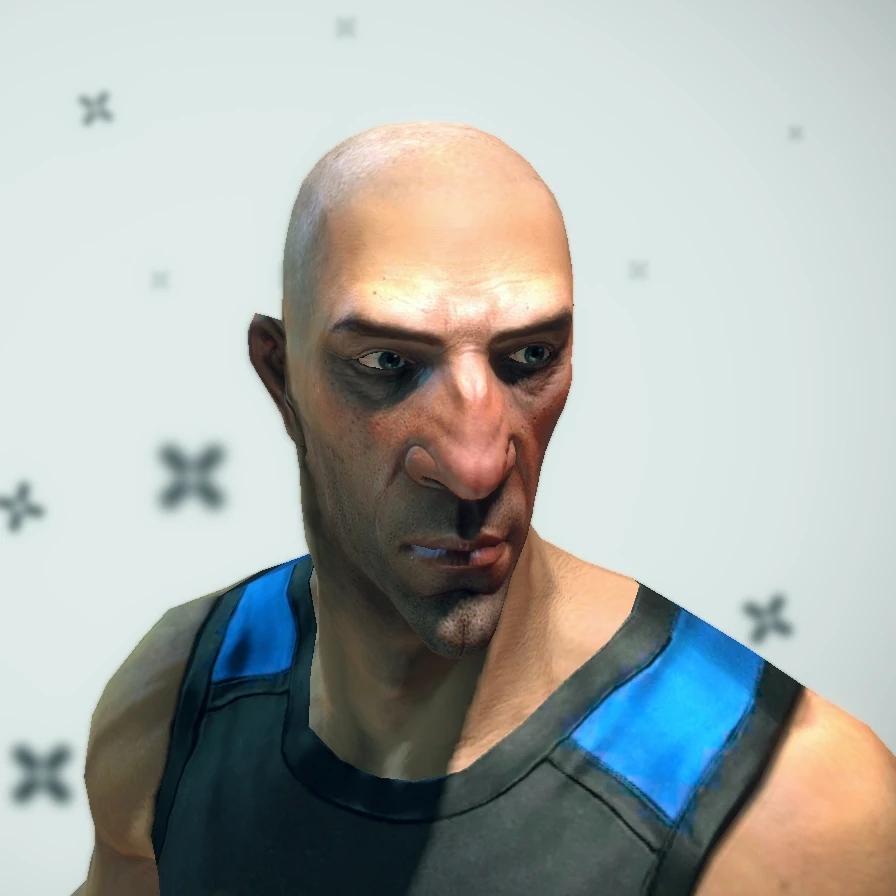
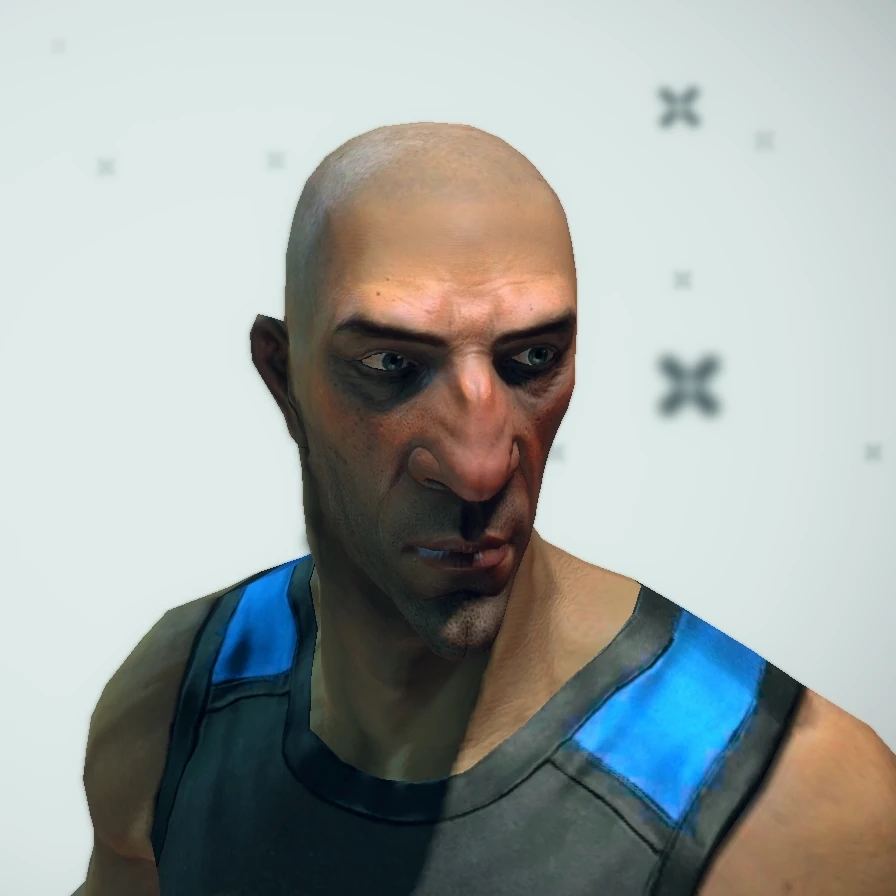
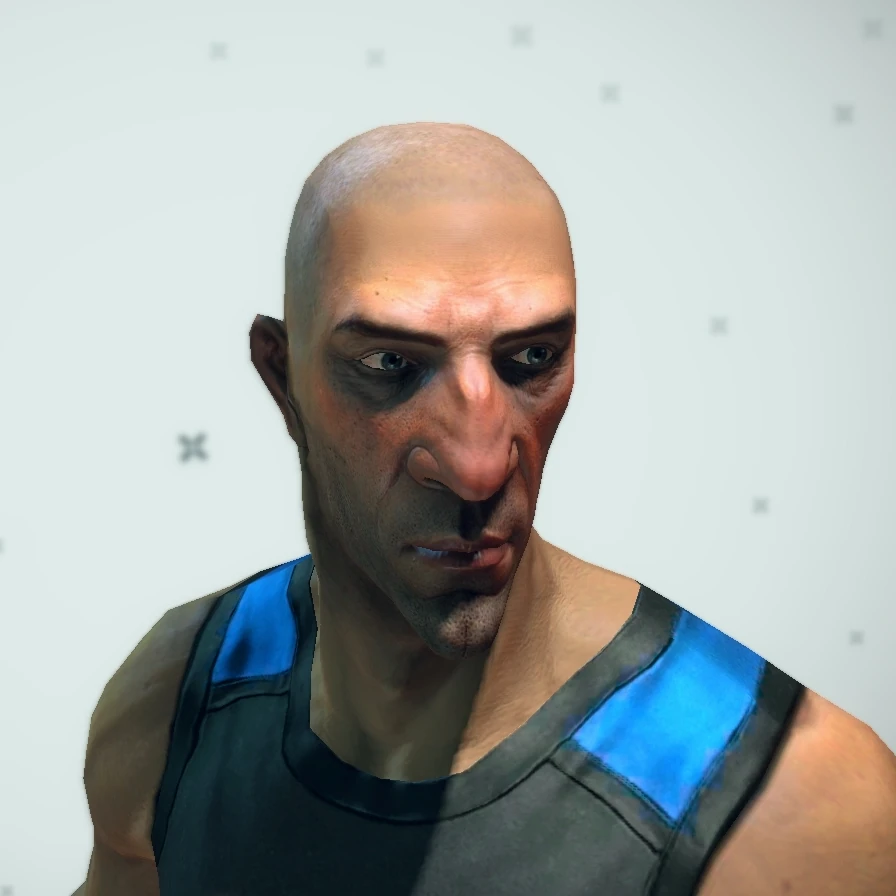
| + | ! rowspan="2" width="100%"| The Nose |
||
| + | | colspan="2"| [[File:The_Nose_1.jpg|80px]] |
||
| + | | colspan="2"| [[File:The_Nose_2.jpg|80px]] |
||
| + | | colspan="2"| [[File:The_Nose_3.jpg|80px]] |
||
| + | | colspan="2"| [[File:The_Nose_4.jpg|80px]] |
||
| + | | colspan="2"| [[File:The_Nose_5.jpg|80px]] |
||
| + | |- |
||
| + | | width="75%" height="20" style="background:#9c8375" | |
||
| + | | width="25%" style="background:#98806f" | |
||
| + | | width="75%" style="background:#ac8a71" | |
||
| + | | width="25%" style="background:#ac8a71" | |
||
| + | | width="75%" style="background:#a38066" | |
||
| + | | width="25%" style="background:#ad8a72" | |
||
| + | | width="75%" style="background:#876851" | |
||
| + | | width="25%" style="background:#aa8b72" | |
||
| + | | width="75%" style="background:#937058" | |
||
| + | | width="25%" style="background:#ac8a72" | |
||
| + | |- |
||
| + | ! rowspan="2" width="100%"| The Sensei |
||
| + | | colspan="2"| [[File:The_Sensei_1.jpg|80px]] |
||
| + | | colspan="2"| [[File:The_Sensei_2.jpg|80px]] |
||
| + | | colspan="2"| [[File:The_Sensei_3.jpg|80px]] |
||
| + | | colspan="2"| [[File:The_Sensei_4.jpg|80px]] |
||
| + | | colspan="2"| [[File:The_Sensei_5.jpg|80px]] |
||
| + | |- |
||
| + | | width="75%" height="20" style="background:#98816f" | |
||
| + | | width="25%" style="background:#97806e" | |
||
| + | | width="75%" style="background:#7e624a" | |
||
| + | | width="25%" style="background:#aa8b72" | |
||
| + | | width="75%" style="background:#8e7055" | |
||
| + | | width="25%" style="background:#aa8b72" | |
||
| + | | width="75%" style="background:#97755b" | |
||
| + | | width="25%" style="background:#ac8a71" | |
||
| + | | width="75%" style="background:#a17e64" | |
||
| + | | width="25%" style="background:#ad8a70" | |
||
| + | |- |
||
| + | ! rowspan="2" width="100%"| The Smooth |
||
| + | | colspan="2"| [[File:The_Smooth_1.jpg|80px]] |
||
| + | | colspan="2"| [[File:The_Smooth_2.jpg|80px]] |
||
| + | | colspan="2"| [[File:The_Smooth_3.jpg|80px]] |
||
| + | | colspan="2"| [[File:The_Smooth_4.jpg|80px]] |
||
| + | | colspan="2"| [[File:The_Smooth_5.jpg|80px]] |
||
| + | |- |
||
| + | | width="75%" height="20" style="background:#98816f" | |
||
| + | | width="25%" style="background:#97806e" | |
||
| + | | width="75%" style="background:#7e624a" | |
||
| + | | width="25%" style="background:#aa8b72" | |
||
| + | | width="75%" style="background:#8e7055" | |
||
| + | | width="25%" style="background:#aa8b72" | |
||
| + | | width="75%" style="background:#97755b" | |
||
| + | | width="25%" style="background:#ac8a71" | |
||
| + | | width="75%" style="background:#a17e64" | |
||
| + | | width="25%" style="background:#ad8a70" | |
||
| + | |- |
||
| + | ! rowspan="2" width="100%"| The Bruiser |
||
| + | | colspan="2"| [[File:The_Bruiser_1.jpg|80px]] |
||
| + | | colspan="2"| [[File:The_Bruiser_2.jpg|80px]] |
||
| + | | colspan="2"| [[File:The_Bruiser_3.jpg|80px]] |
||
| + | | colspan="2"| [[File:The_Bruiser_4.jpg|80px]] |
||
| + | | colspan="2"| [[File:The_Bruiser_5.jpg|80px]] |
||
| + | |- |
||
| + | | width="75%" height="20" style="background:#6e5646" | |
||
| + | | width="25%" style="background:#8d7360" | |
||
| + | | width="75%" style="background:#7b5d48" | |
||
| + | | width="25%" style="background:#8a6b57" | |
||
| + | | width="75%" style="background:#6f5441" | |
||
| + | | width="25%" style="background:#7b604c" | |
||
| + | | width="75%" style="background:#664b3c" | |
||
| + | | width="25%" style="background:#6c5542" | |
||
| + | | width="75%" style="background:#594334" | |
||
| + | | width="25%" style="background:#644e3f" | |
||
| + | |- |
||
| + | ! rowspan="2" width="100%"| The Psycho |
||
| + | | colspan="2"| [[File:The_Psycho_1.jpg|80px]] |
||
| + | | colspan="2"| [[File:The_Psycho_2.jpg|80px]] |
||
| + | | colspan="2"| [[File:The_Psycho_3.jpg|80px]] |
||
| + | | colspan="2"| [[File:The_Psycho_4.jpg|80px]] |
||
| + | | colspan="2"| [[File:The_Psycho_5.jpg|80px]] |
||
| + | |- |
||
| + | | width="75%" height="20" style="background:#9c8375" | |
||
| + | | width="25%" style="background:#98806f" | |
||
| + | | width="75%" style="background:#ac8a71" | |
||
| + | | width="25%" style="background:#ac8a71" | |
||
| + | | width="75%" style="background:#a38066" | |
||
| + | | width="25%" style="background:#ad8a72" | |
||
| + | | width="75%" style="background:#876851" | |
||
| + | | width="25%" style="background:#aa8b72" | |
||
| + | | width="75%" style="background:#937058" | |
||
| + | | width="25%" style="background:#ac8a72" | |
||
| + | |- |
||
| + | ! rowspan="2" width="100%"| The Young |
||
| + | | colspan="2"| [[File:The_Young_1.jpg|80px]] |
||
| + | | colspan="2"| [[File:The_Young_2.jpg|80px]] |
||
| + | | colspan="2"| [[File:The_Young_3.jpg|80px]] |
||
| + | | colspan="2"| [[File:The_Young_4.jpg|80px]] |
||
| + | | colspan="2"| [[File:The_Young_5.jpg|80px]] |
||
| + | |- |
||
| + | | width="75%" height="20" style="background:#98816f" | |
||
| + | | width="25%" style="background:#97806e" | |
||
| + | | width="75%" style="background:#7e624a" | |
||
| + | | width="25%" style="background:#aa8b72" | |
||
| + | | width="75%" style="background:#8e7055" | |
||
| + | | width="25%" style="background:#aa8b72" | |
||
| + | | width="75%" style="background:#97755b" | |
||
| + | | width="25%" style="background:#ac8a71" | |
||
| + | | width="75%" style="background:#a17e64" | |
||
| + | | width="25%" style="background:#ad8a70" | |
||
| + | |- |
||
| + | ! rowspan="2" width="100%"| The Sour |
||
| + | | colspan="2"| [[File:The_Sour_1.jpg|80px]] |
||
| + | | colspan="2"| [[File:The_Sour_2.jpg|80px]] |
||
| + | | colspan="2"| [[File:The_Sour_3.jpg|80px]] |
||
| + | | colspan="2"| [[File:The_Sour_4.jpg|80px]] |
||
| + | | colspan="2"| [[File:The_Sour_5.jpg|80px]] |
||
| + | |- |
||
| + | | width="75%" height="20" style="background:#98816f" | |
||
| + | | width="25%" style="background:#97806e" | |
||
| + | | width="75%" style="background:#7e624a" | |
||
| + | | width="25%" style="background:#aa8b72" | |
||
| + | | width="75%" style="background:#8e7055" | |
||
| + | | width="25%" style="background:#aa8b72" | |
||
| + | | width="75%" style="background:#97755b" | |
||
| + | | width="25%" style="background:#ac8a71" | |
||
| + | | width="75%" style="background:#a17e64" | |
||
| + | | width="25%" style="background:#ad8a70" | |
||
| + | |- |
||
| + | ! rowspan="2" width="100%"| The Veteran |
||
| + | | colspan="2"| [[File:The_Veteran_1.jpg|80px]] |
||
| + | | colspan="2"| [[File:The_Veteran_2.jpg|80px]] |
||
| + | | colspan="2"| [[File:The_Veteran_3.jpg|80px]] |
||
| + | | colspan="2"| [[File:The_Veteran_4.jpg|80px]] |
||
| + | | colspan="2"| [[File:The_Veteran_5.jpg|80px]] |
||
| + | |- |
||
| + | | width="75%" height="20" style="background:#6e5646" | |
||
| + | | width="25%" style="background:#8d7360" | |
||
| + | | width="75%" style="background:#7b5d48" | |
||
| + | | width="25%" style="background:#8a6b57" | |
||
| + | | width="75%" style="background:#6f5441" | |
||
| + | | width="25%" style="background:#7b604c" | |
||
| + | | width="75%" style="background:#664b3c" | |
||
| + | | width="25%" style="background:#6c5542" | |
||
| + | | width="75%" style="background:#594334" | |
||
| + | | width="25%" style="background:#644e3f" | |
||
| + | |- |
||
| + | ! rowspan="2" width="100%"| The Suave |
||
| + | | colspan="2"| [[File:The_Suave_1.jpg|80px]] |
||
| + | | colspan="2"| [[File:The_Suave_2.jpg|80px]] |
||
| + | | colspan="2"| [[File:The_Suave_3.jpg|80px]] |
||
| + | | colspan="2"| [[File:The_Suave_4.jpg|80px]] |
||
| + | | colspan="2"| [[File:The_Suave_5.jpg|80px]] |
||
| + | |- |
||
| + | | width="75%" height="20" style="background:#6e5646" | |
||
| + | | width="25%" style="background:#8d7360" | |
||
| + | | width="75%" style="background:#7b5d48" | |
||
| + | | width="25%" style="background:#8a6b57" | |
||
| + | | width="75%" style="background:#6f5441" | |
||
| + | | width="25%" style="background:#7b604c" | |
||
| + | | width="75%" style="background:#664b3c" | |
||
| + | | width="25%" style="background:#6c5542" | |
||
| + | | width="75%" style="background:#594334" | |
||
| + | | width="25%" style="background:#644e3f" | |
||
| + | |} |
||
==[[Security]] Archetypes== |
==[[Security]] Archetypes== |
||
| Line 15: | Line 234: | ||
Brink-character-security-good-cop.jpg|The Good Cop |
Brink-character-security-good-cop.jpg|The Good Cop |
||
The look.jpg|The Look |
The look.jpg|The Look |
||
| + | Brink-TheJesse.png|The Jesse |
||
| + | img_8396238.jpeg|The Eel, with mask option |
||
</gallery> |
</gallery> |
||
| − | *The Bomb |
+ | *[[The Bomb]] |
| − | *The |
+ | *[[The Bouncer]] |
| − | *The |
+ | *[[The Bug]] |
| − | *The |
+ | *[[The Eel]] |
| − | *The |
+ | *[[The Freak]] |
| − | *The |
+ | *[[The Good Cop]] |
| − | *The |
+ | *[[The Jesse]] |
| + | *[[The Look]] |
||
| + | *[[The Shield]] |
||
| + | *[[The Tank]] |
||
| + | *[[The Unit]] |
||
| + | *[[The Limey]] ([[Agents of Change]] [[DLC]]) |
||
==[[Resistance]] Archetypes== |
==[[Resistance]] Archetypes== |
||
| Line 31: | Line 257: | ||
Brink-character-resistance-wasted.jpg|The Wasted |
Brink-character-resistance-wasted.jpg|The Wasted |
||
The G.jpg|The G |
The G.jpg|The G |
||
| + | Brink-Warrior.png|The Warrior |
||
</gallery> |
</gallery> |
||
| − | *The Anger |
+ | *[[The Anger]] |
| − | *The Boiler Suit |
+ | *[[The Boiler Suit]] |
| − | *The Dude |
+ | *[[The Dude]] |
| − | *The Firestarter |
+ | *[[The Firestarter]] |
| − | *The Fortress |
+ | *[[The Fortress]] |
| − | *The G |
+ | *[[The G]] |
| − | *The |
+ | *[[The Lost]] |
| − | *The |
+ | *[[The Sweat]] |
| − | *The |
+ | *[[The Voice]] |
| − | *The |
+ | *[[The Warrior]] |
| + | *[[The Wasted]] |
||
| + | *[[The Sad Punk]] ([[Agents of Change]] [[DLC]]) |
||
| + | {{Navbox/Archetypes}} |
||
| + | ==External link== |
||
| − | |||
| ⚫ | |||
| − | All information can be seen in the following link |
||
| − | |||
| ⚫ | |||
[[Category:Gameplay]] |
[[Category:Gameplay]] |
||
[[Category:Character Customization]] |
[[Category:Character Customization]] |
||
Latest revision as of 23:38, 17 September 2011
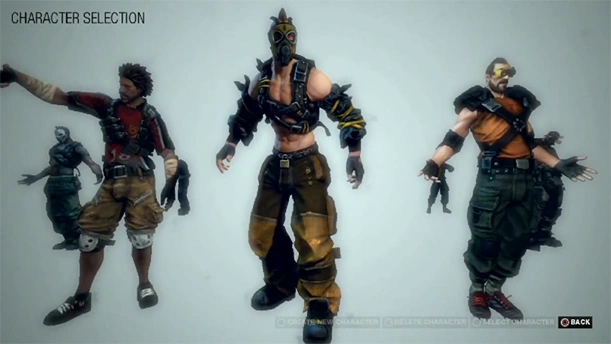
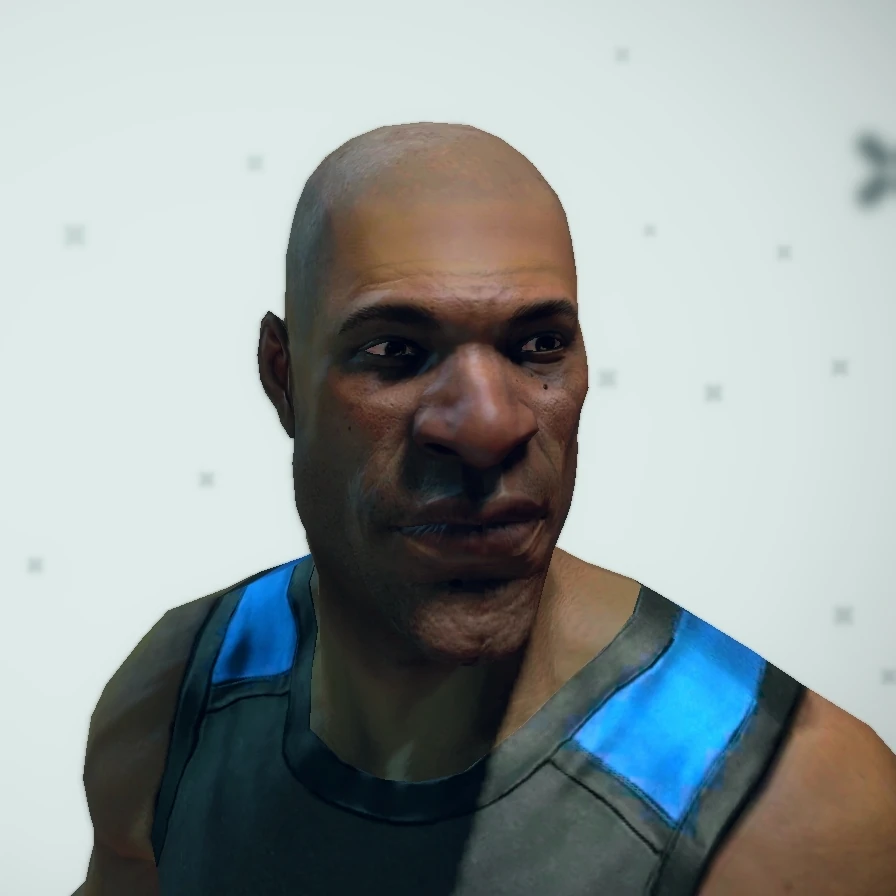
Character archetypes are basic "themes" that can be assigned to a player's character via the Character Customization menu. Archetypes separate the many differing articles of clothing and gear into a few broader categories. Every archetype belongs to either the Security or Resistance faction.
Selecting an archetype for any applicable part of the body will give the player access to more options within that archetype; i.e.: selecting "The Bug" archetype for the head gear of a character will allow you to pick from several different pieces of headgear that match The Bug's general aesthetic theme.
Archetypes can be mixed and matched on any applicable part of the body as well, but are limited to archetypes belonging to the same faction- i.e.: Characters can have a pair of pants from "The Jesse" archetype, and a shirt from "The Look" archetype (as they are both Security) but not anything from a Resistance archetype, such as "The Anger."
Archetypes are not unlocked at random, although it does not tell you the level at which you unlock them. In the strategy guide there is a list of all archetypes and the level at which you unlock them.
Initial Archetypes[]
| The Look | 
|
|

|
|
| |||||
|---|---|---|---|---|---|---|---|---|---|---|
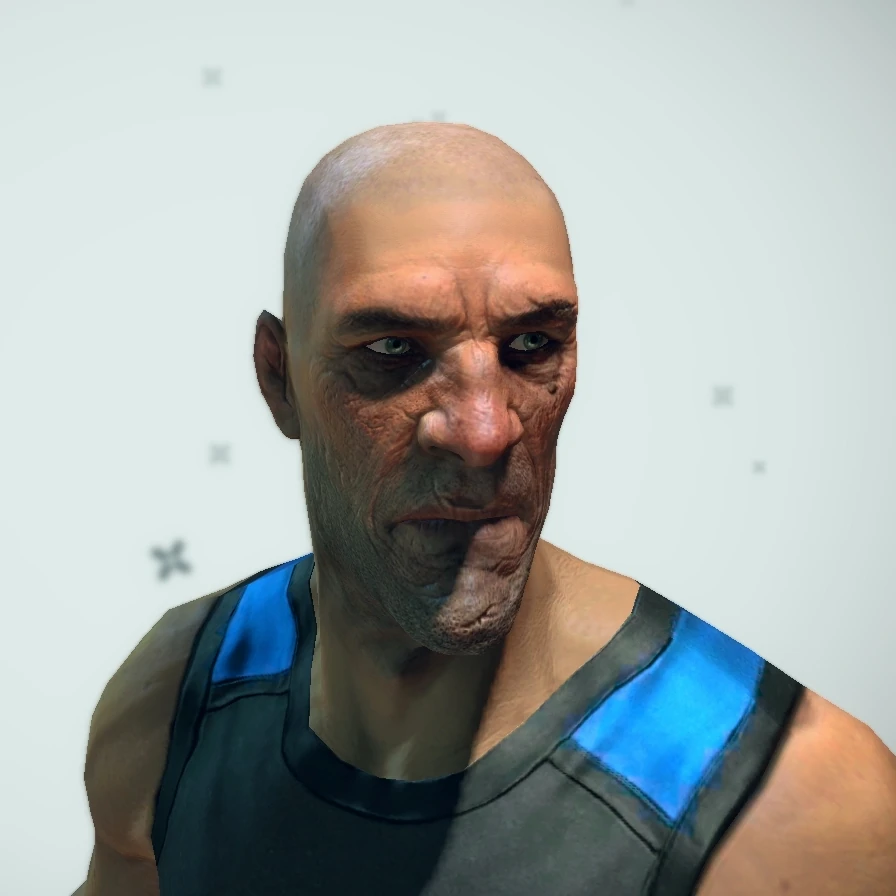
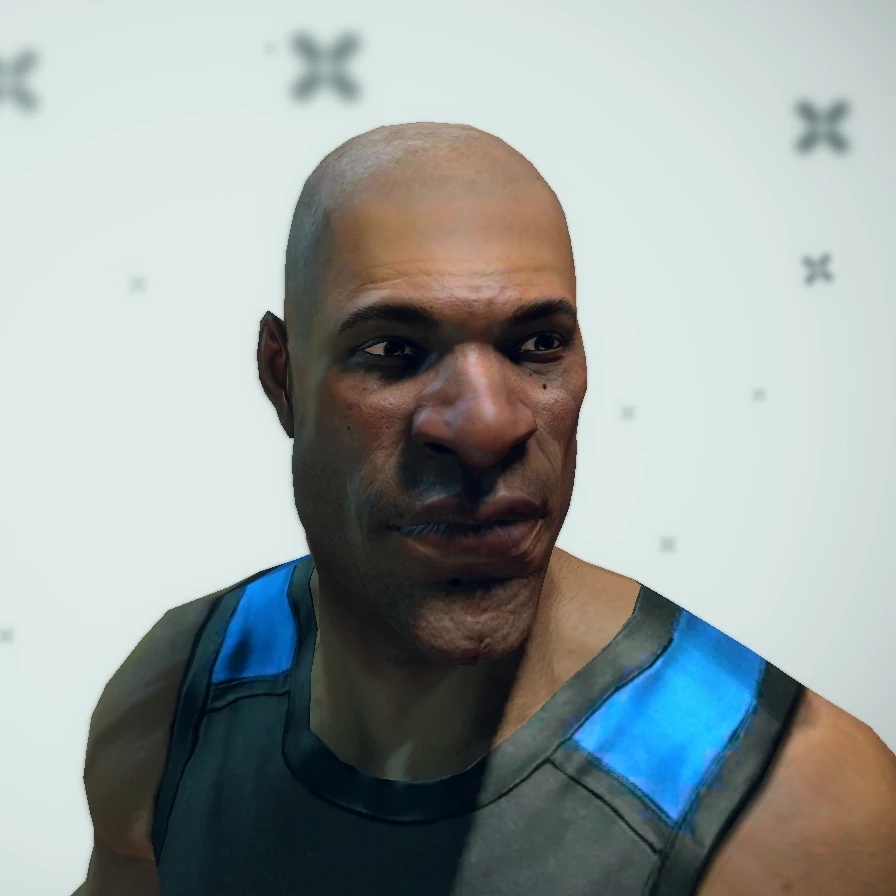
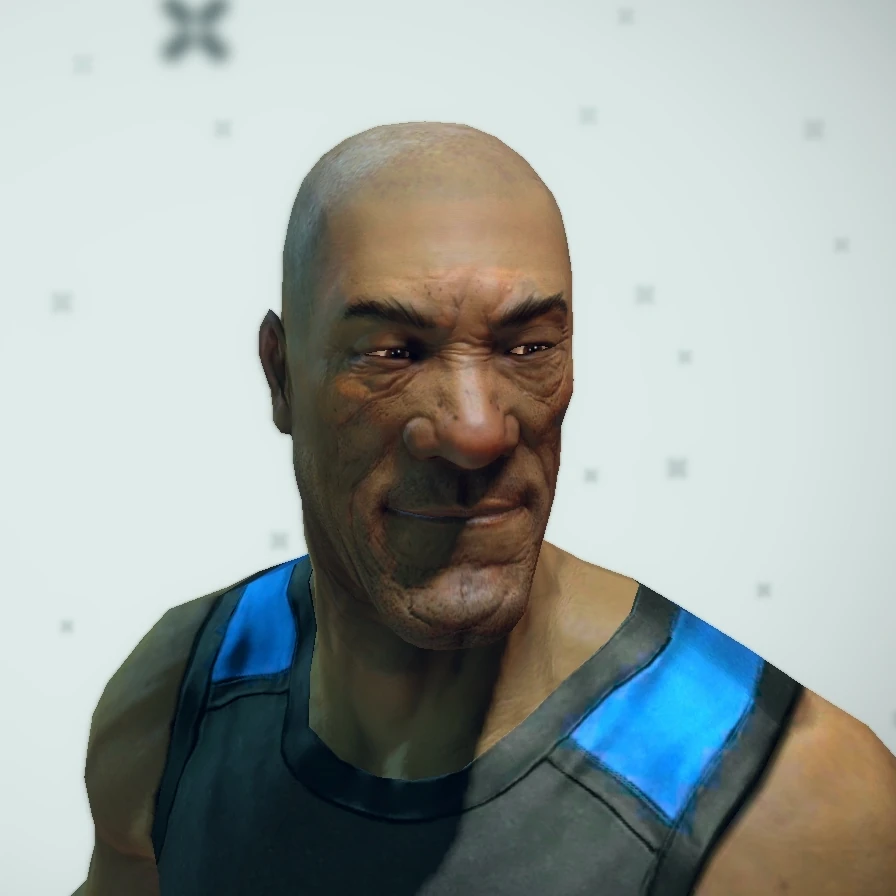
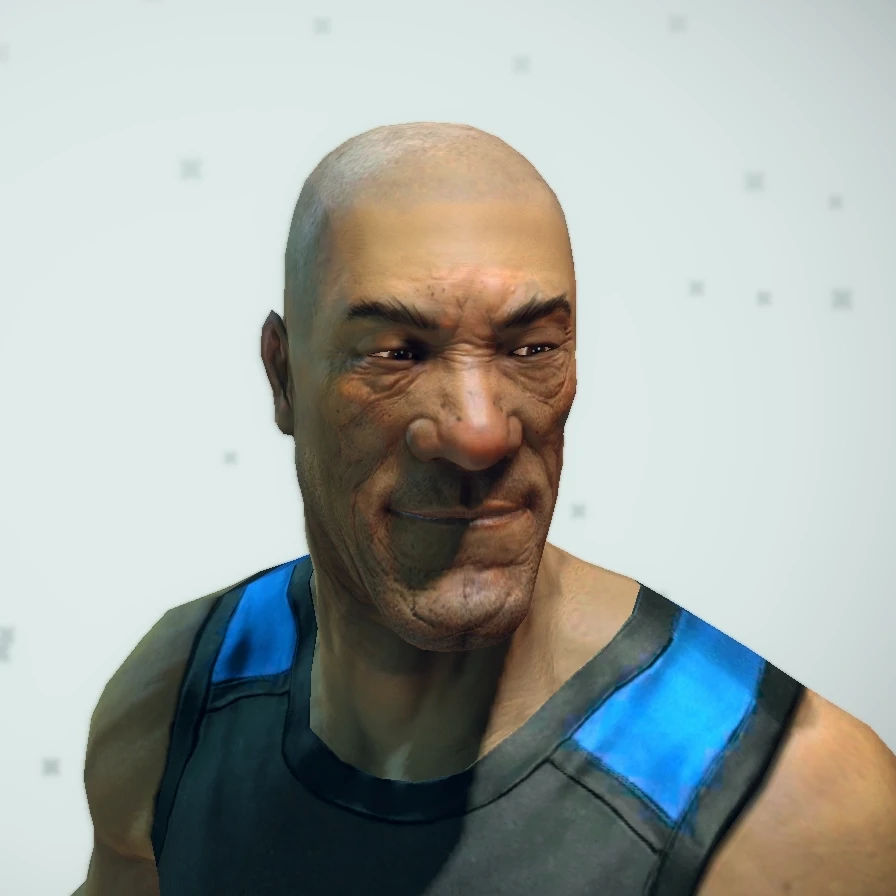
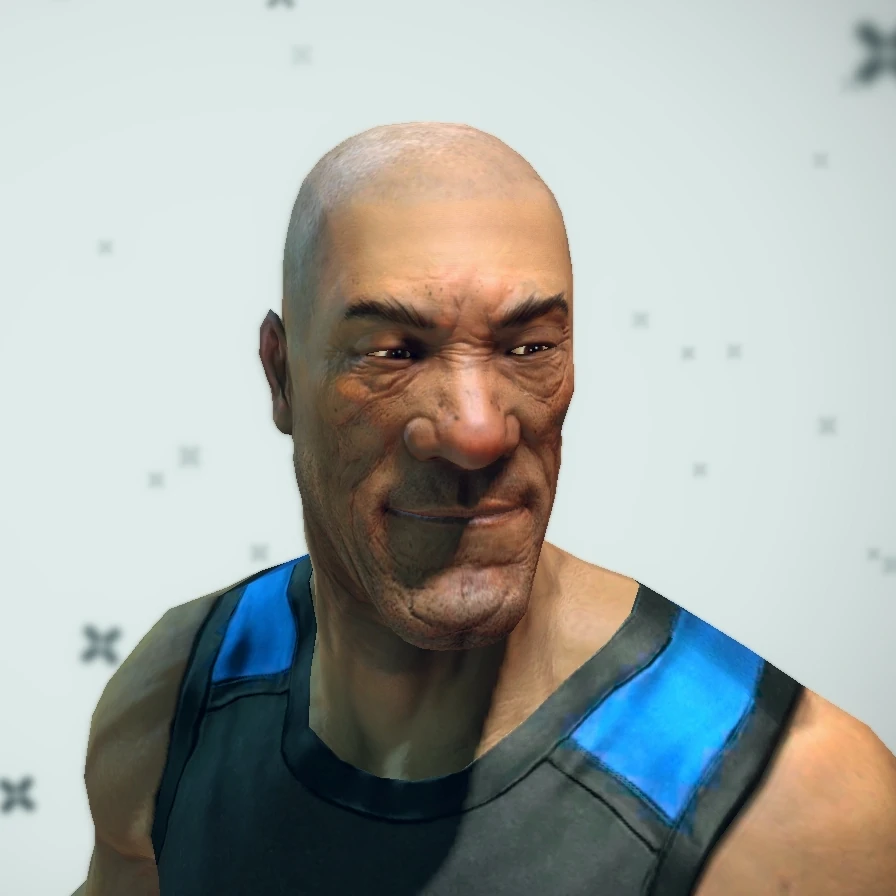
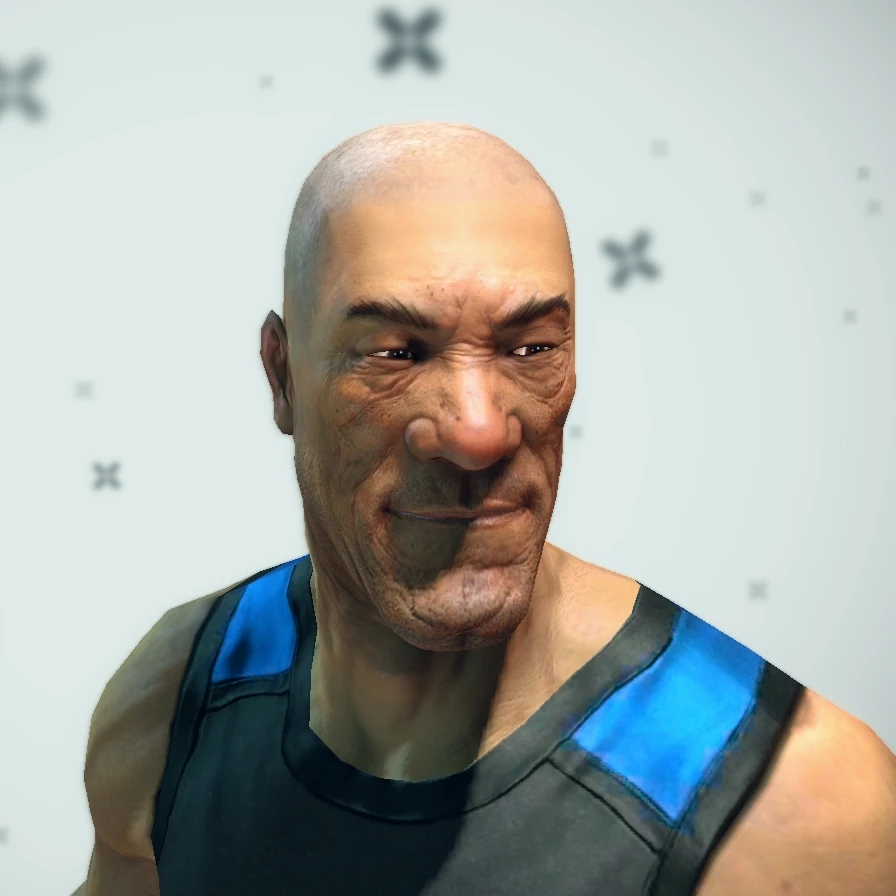
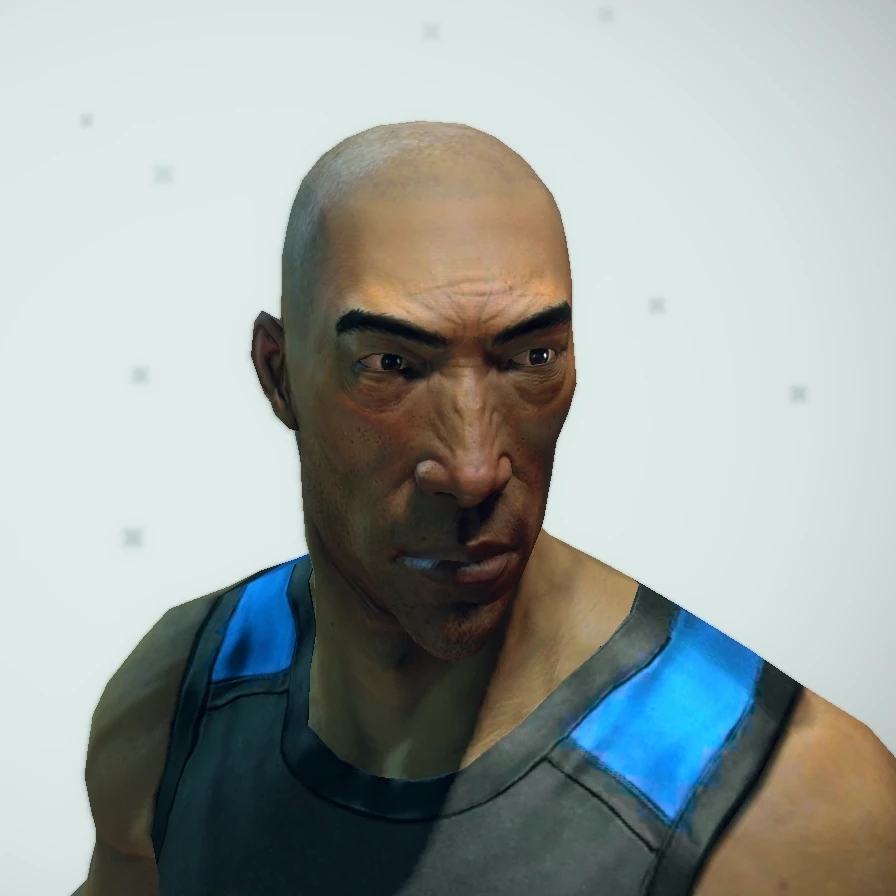
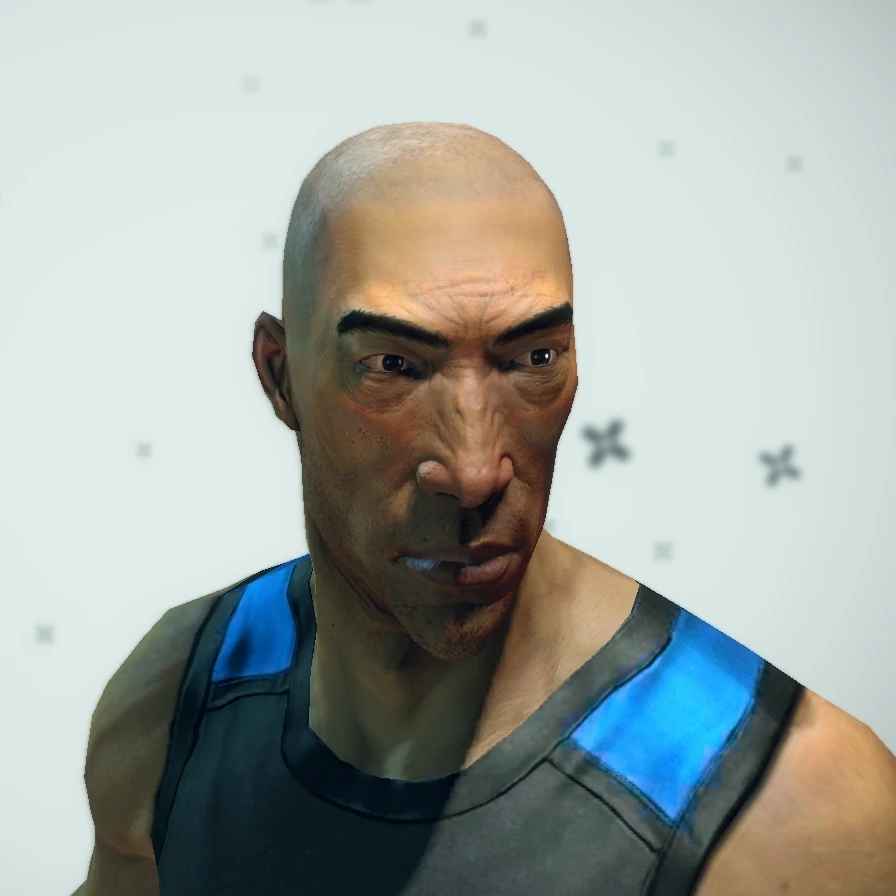
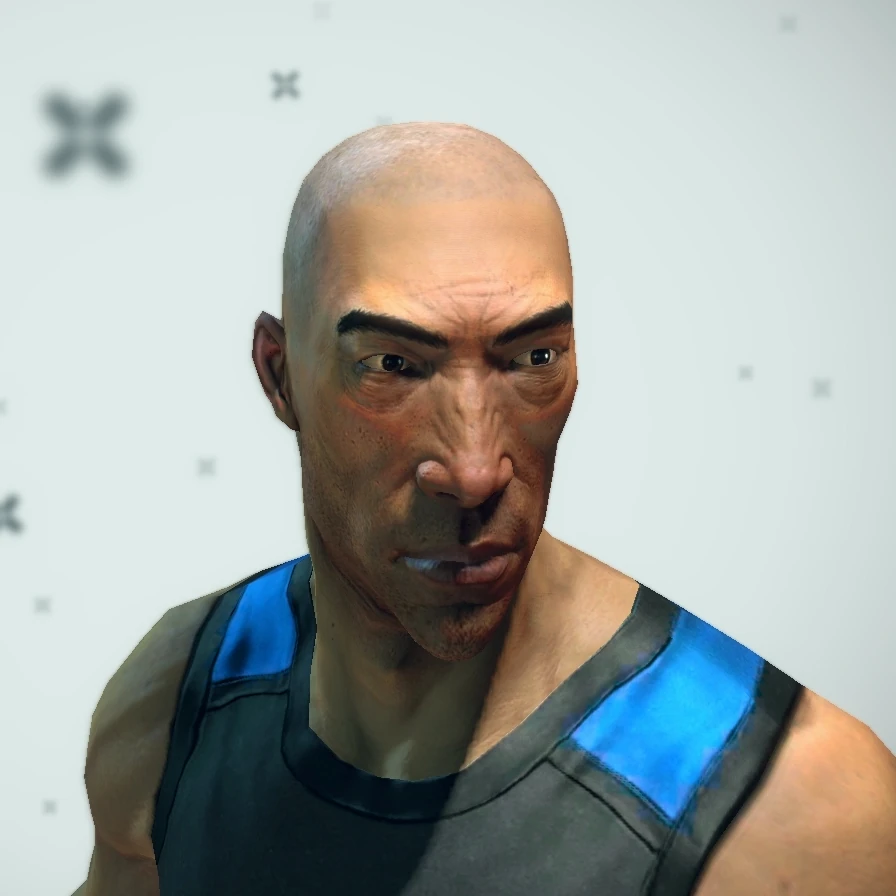
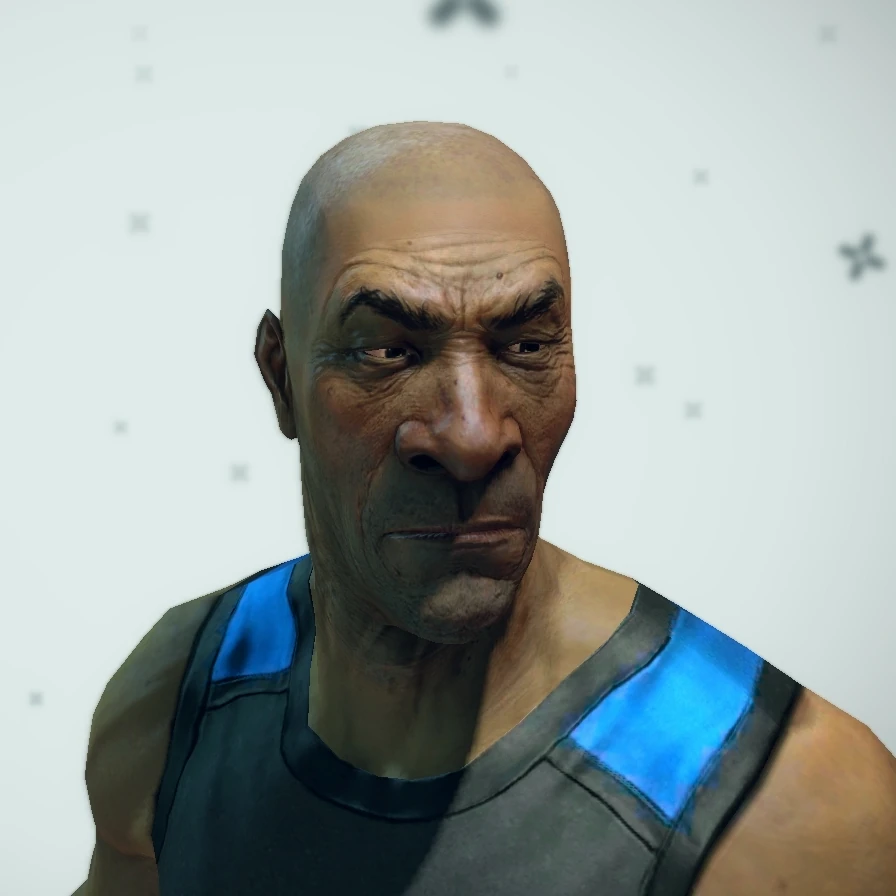
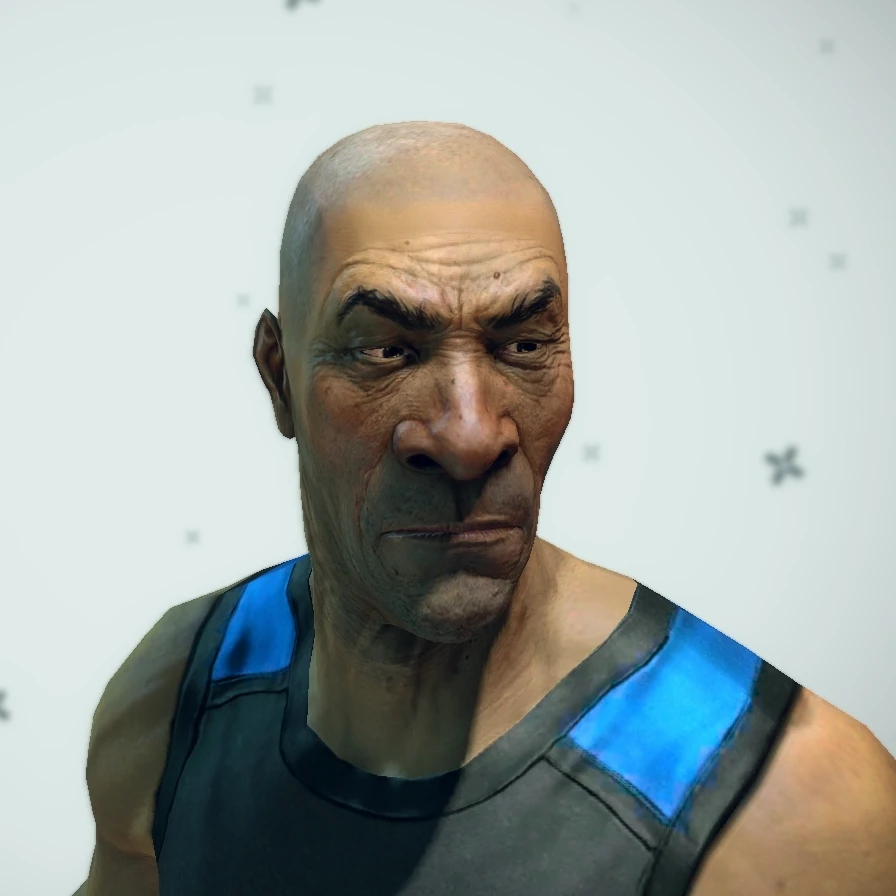
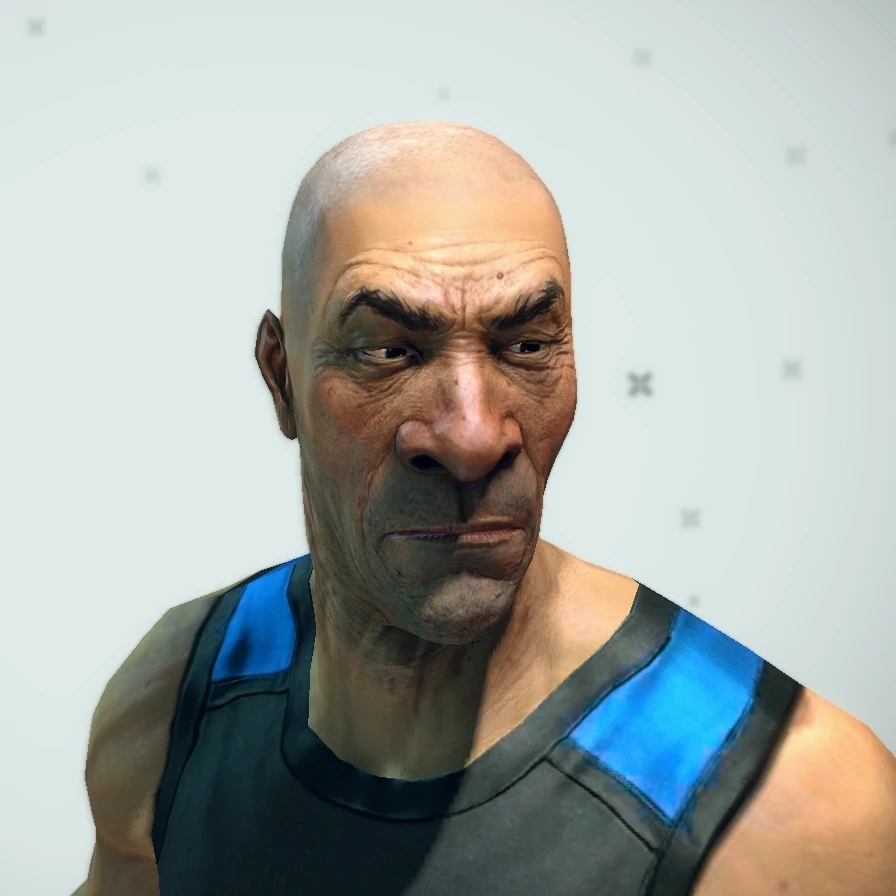
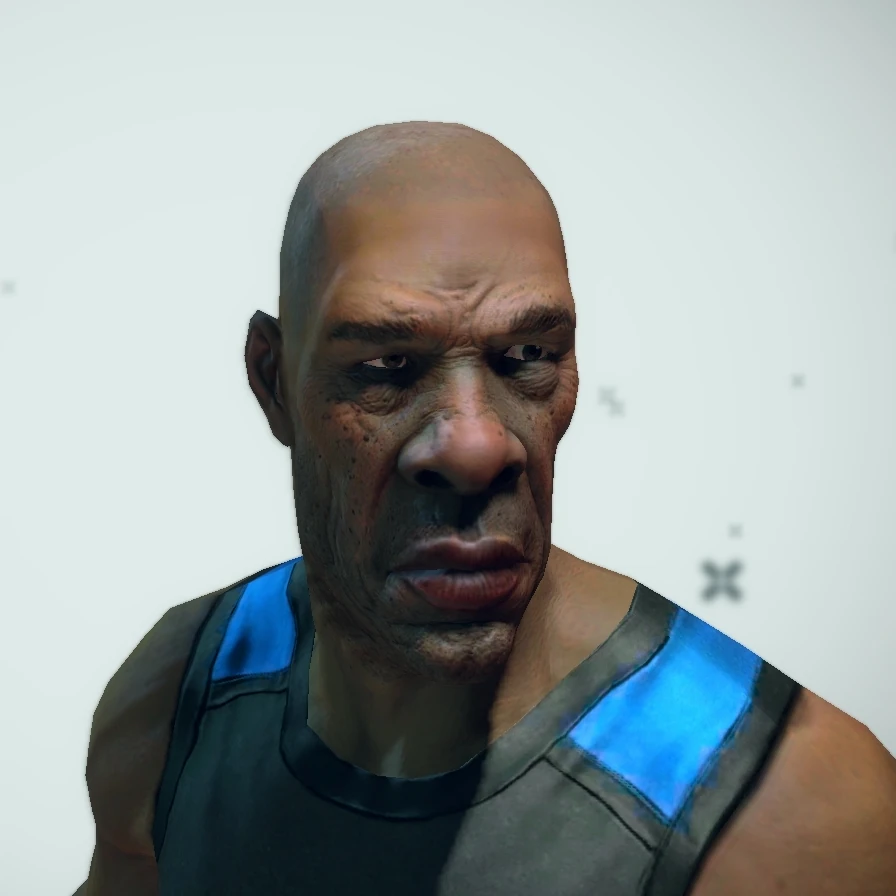
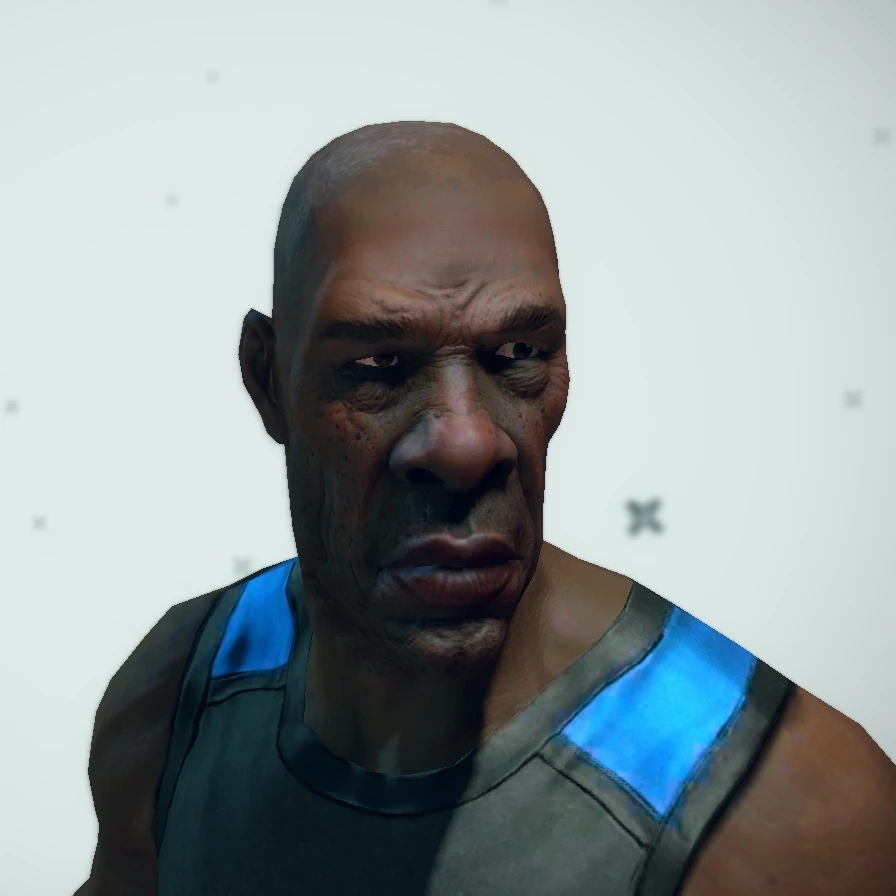
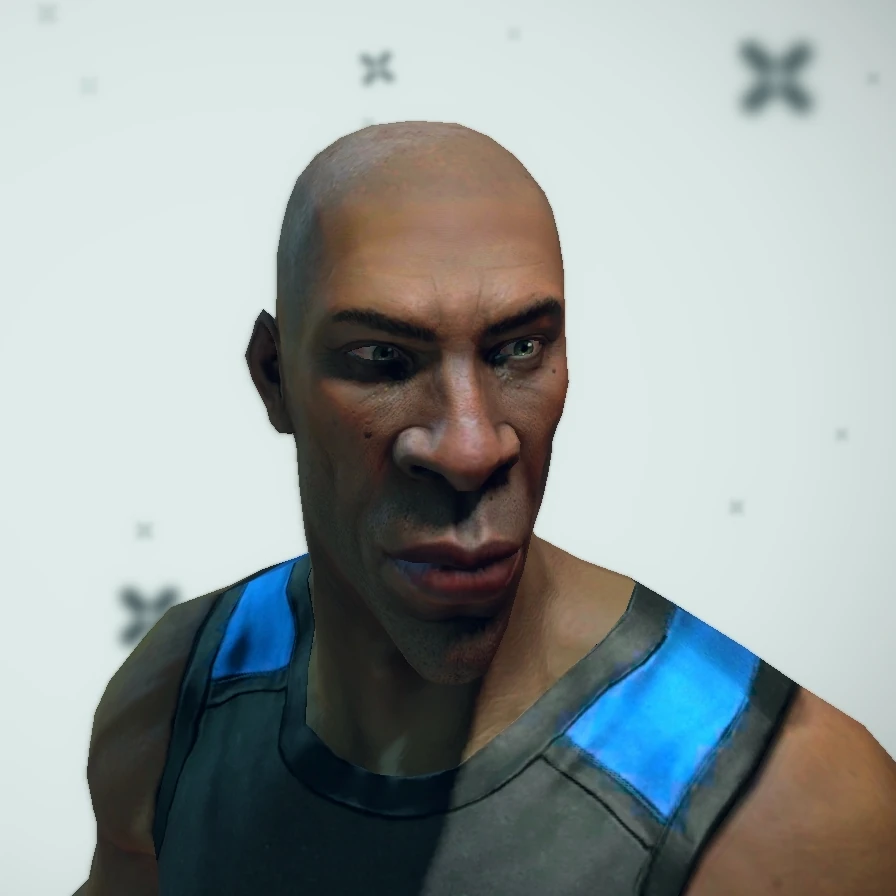
| The Geezer | 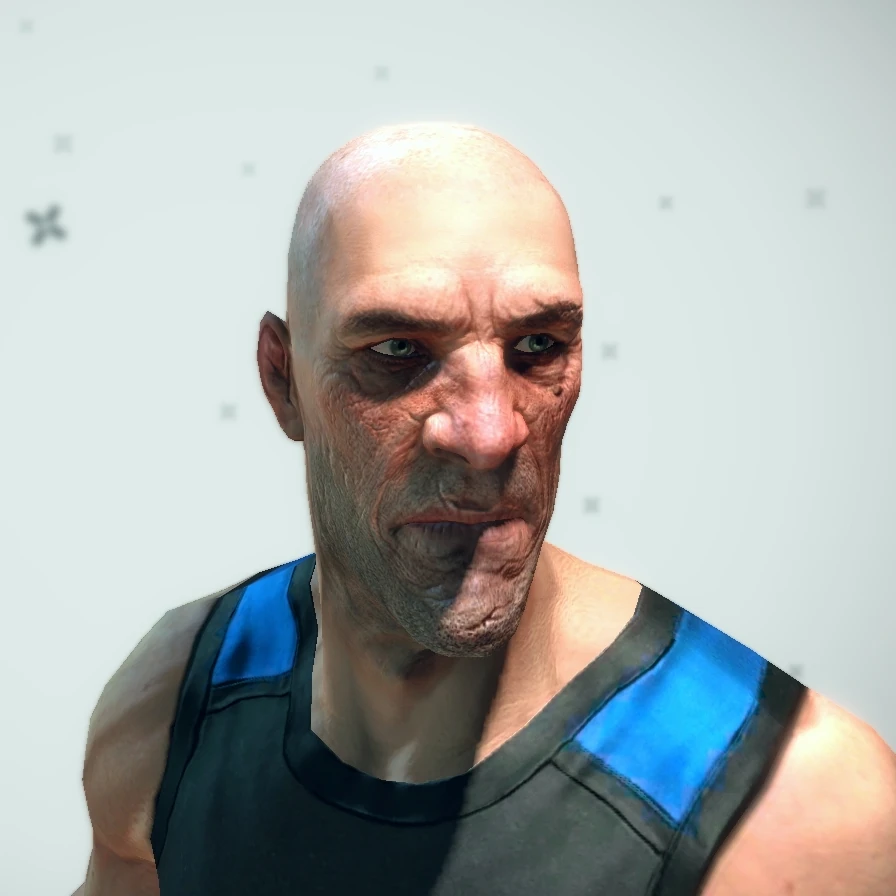
|
|
|
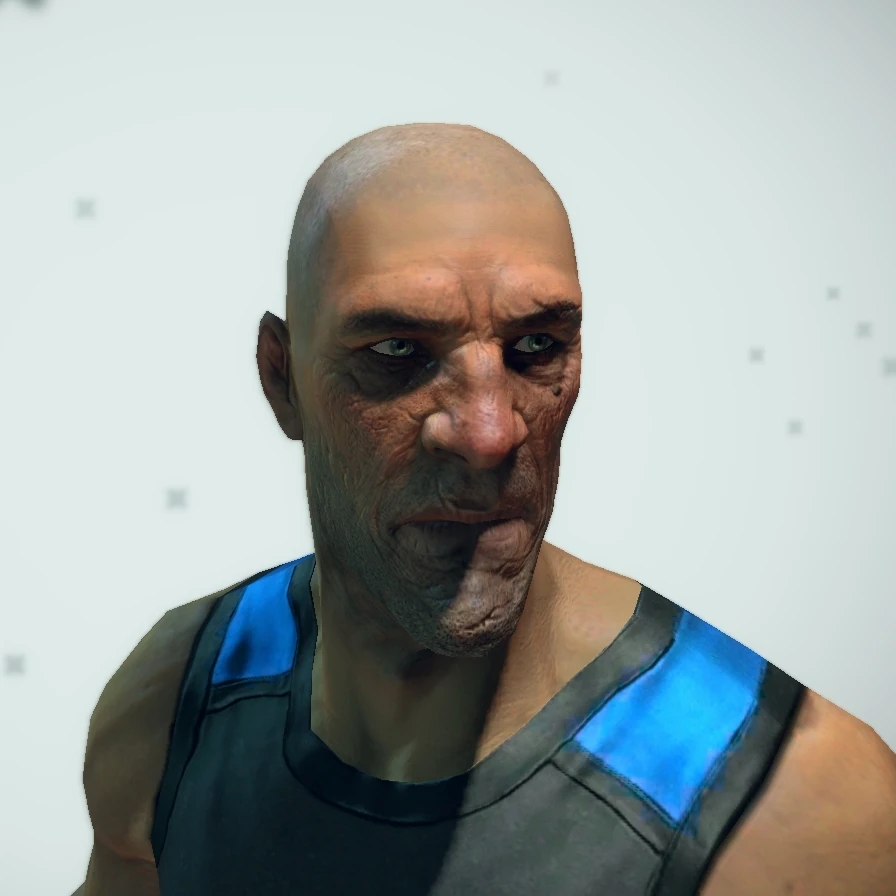
|
| |||||
| The Chin | 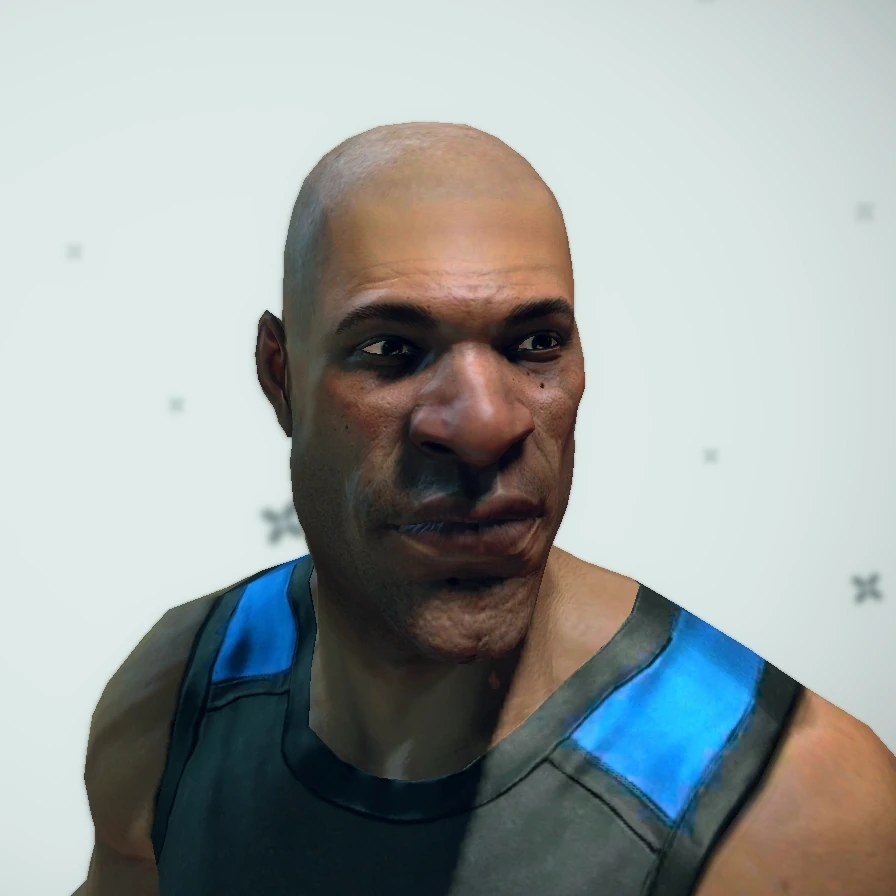
|
|
|

|
| |||||
| The Nose | 
|
|
|
|
| |||||
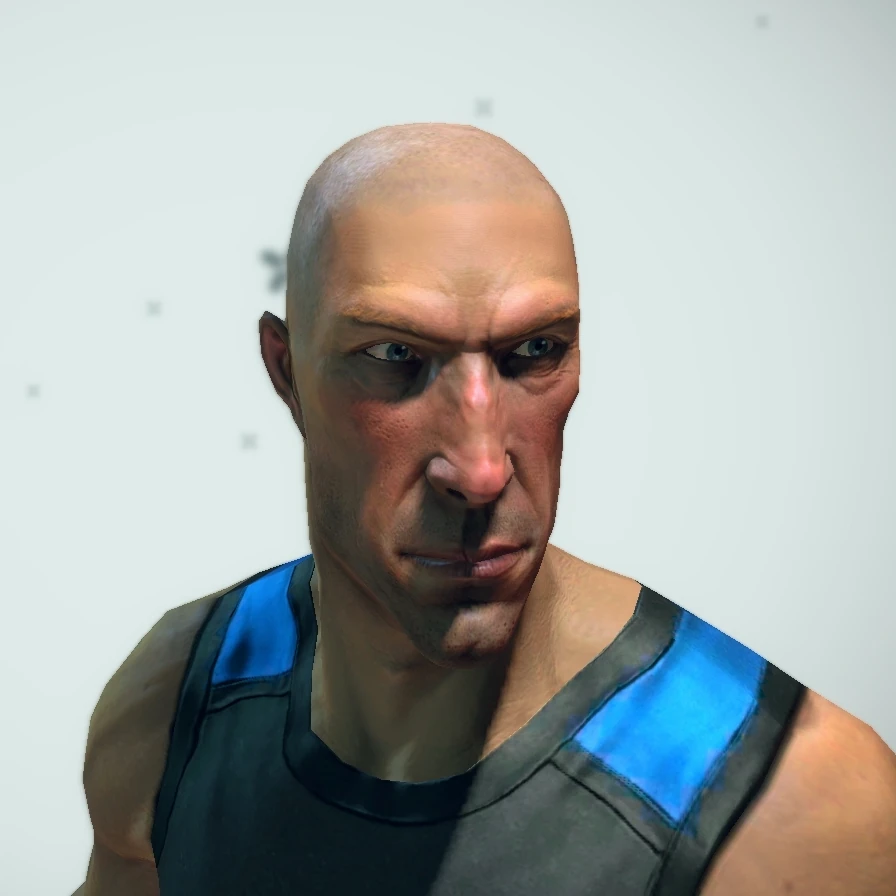
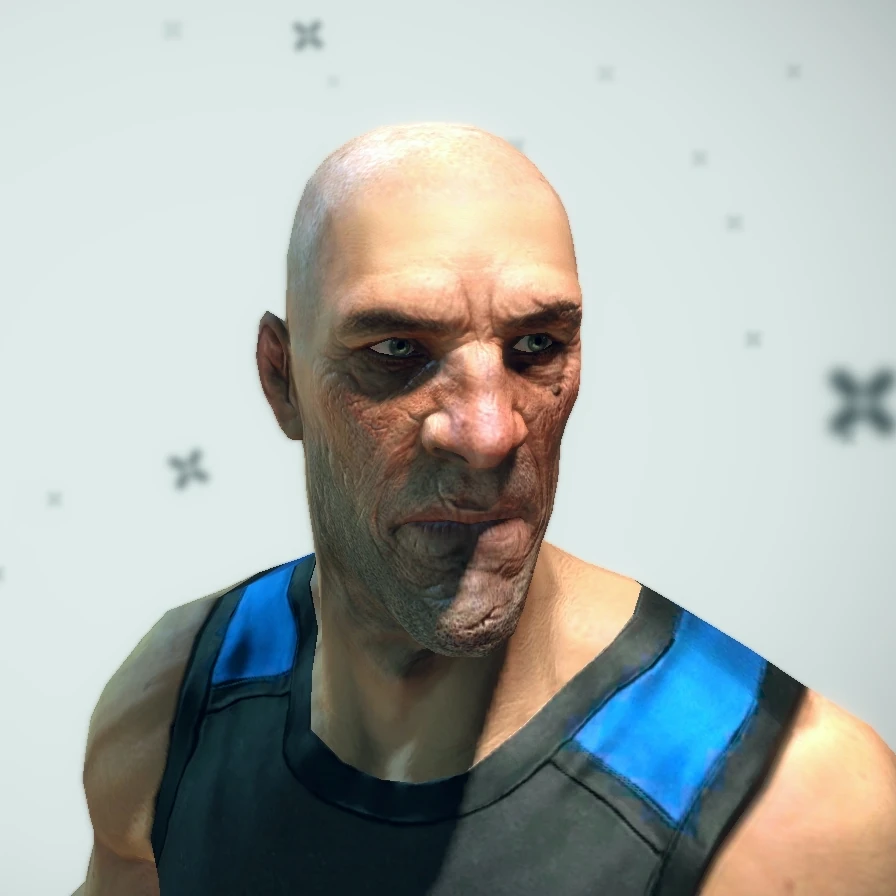
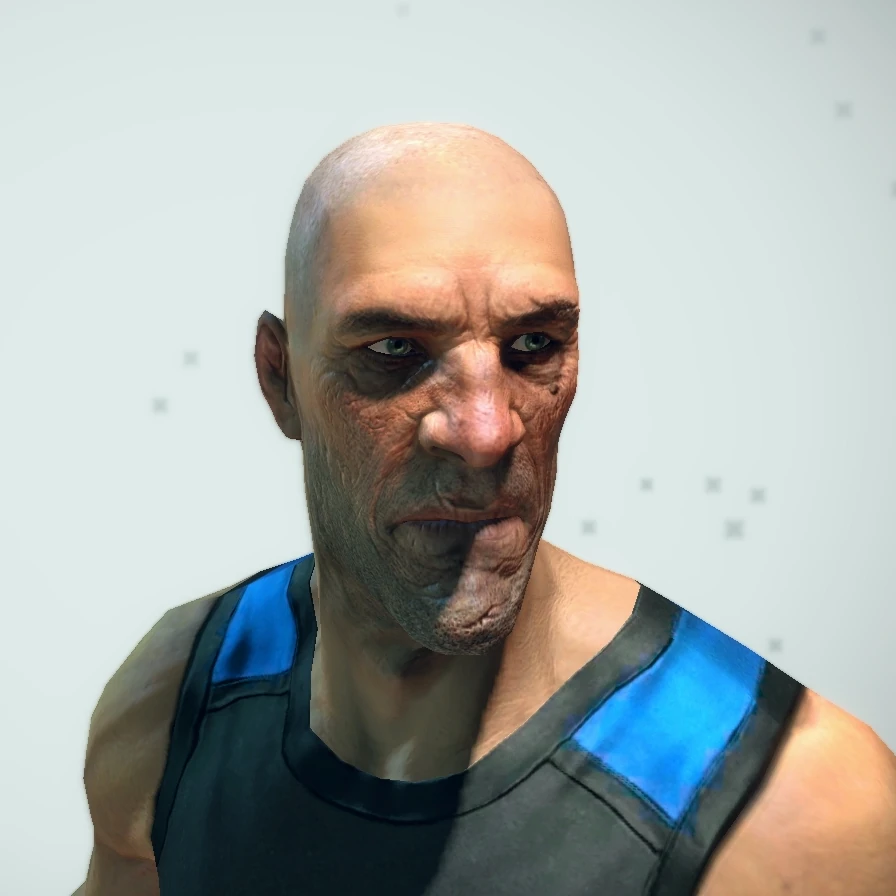
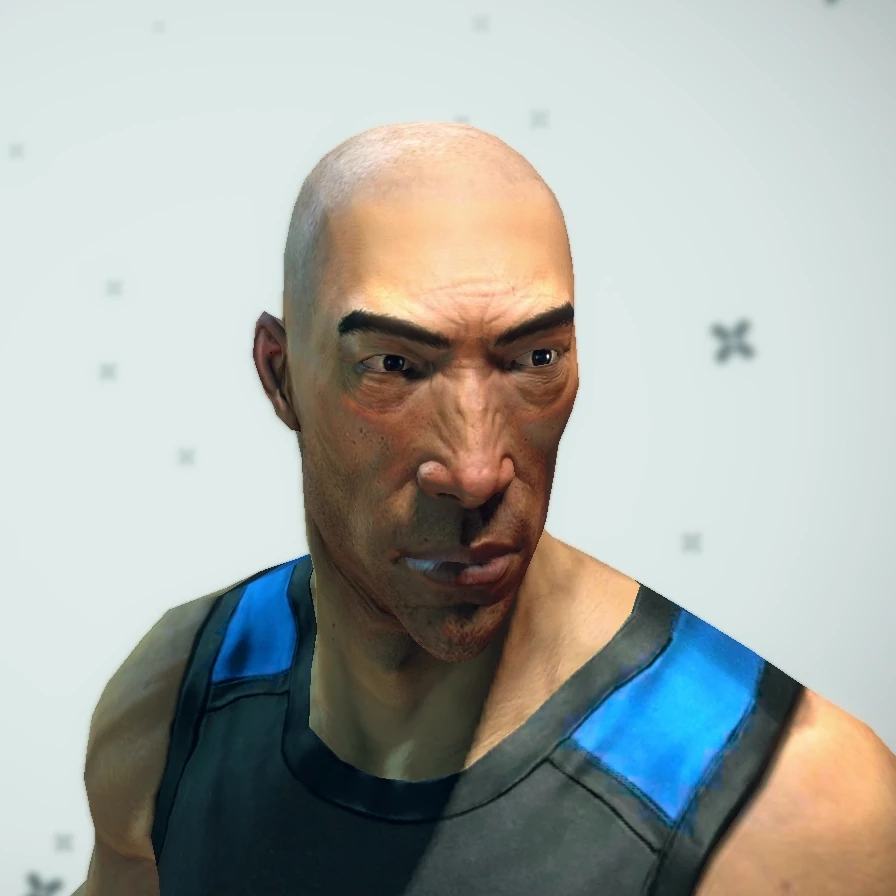
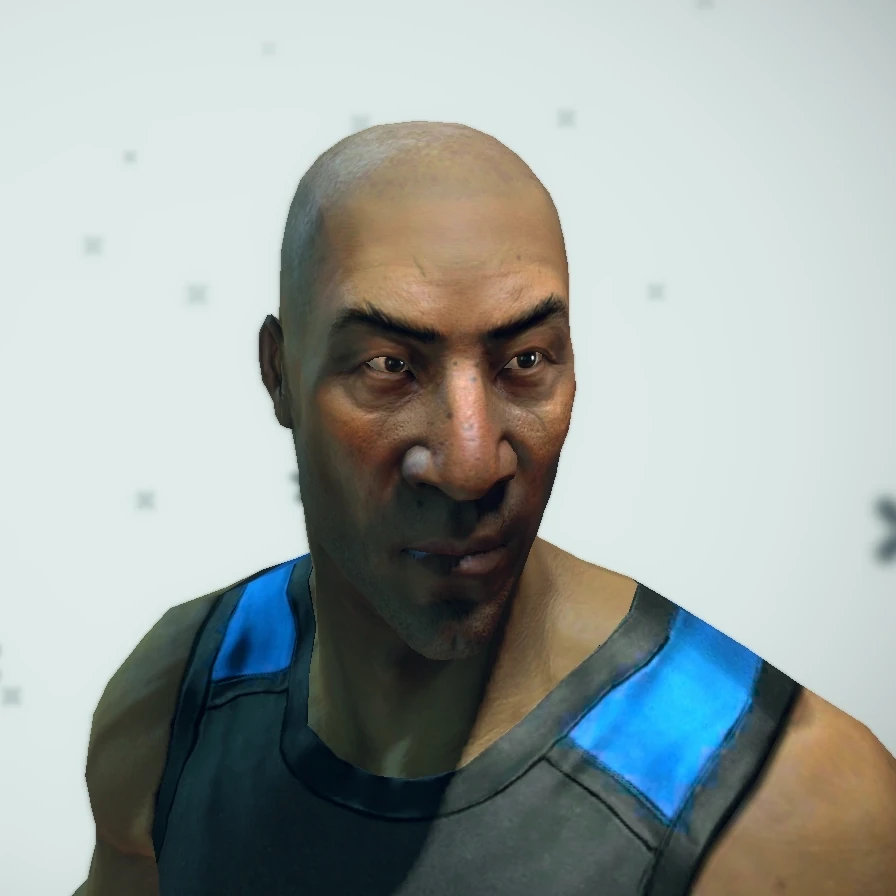
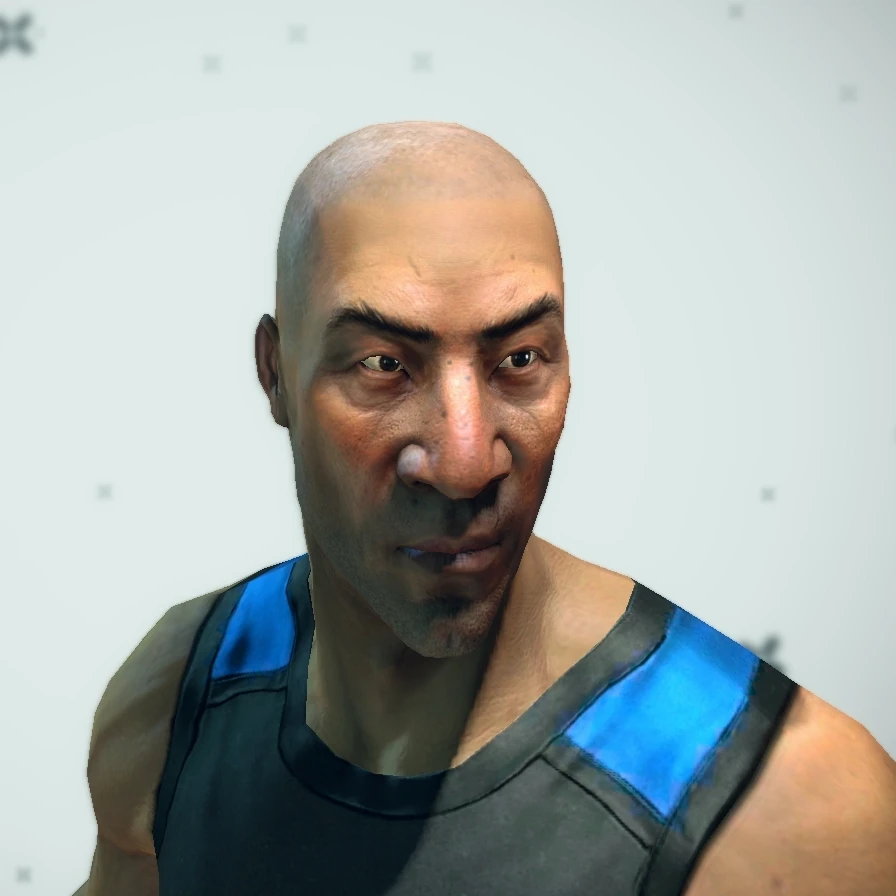
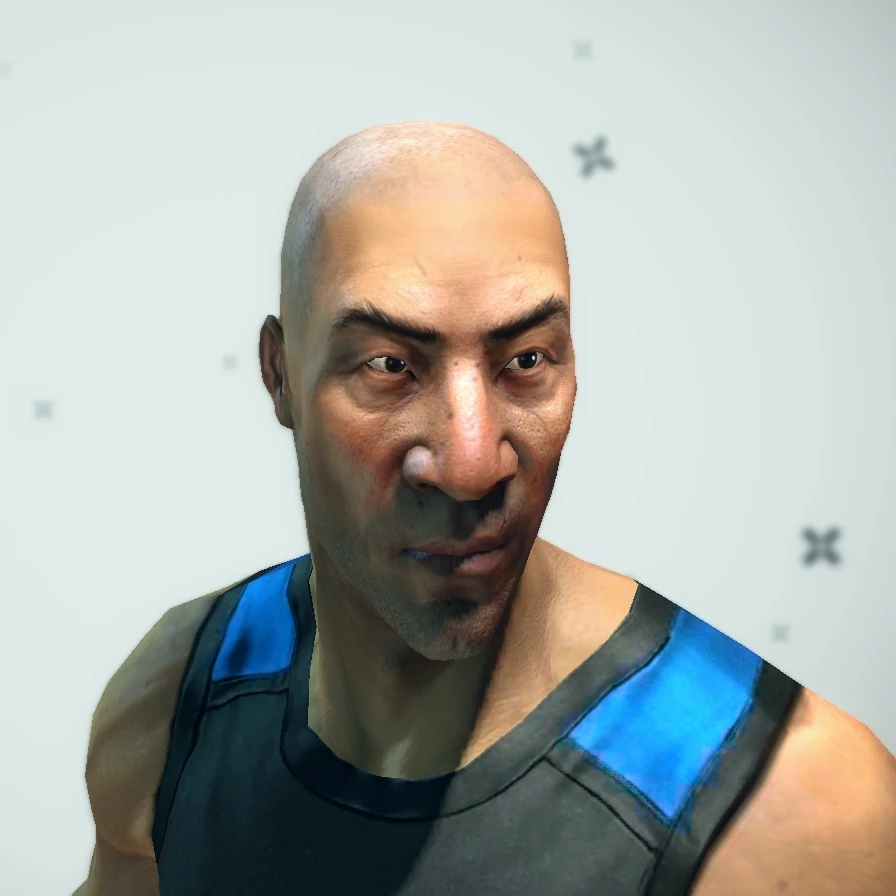
| The Sensei | 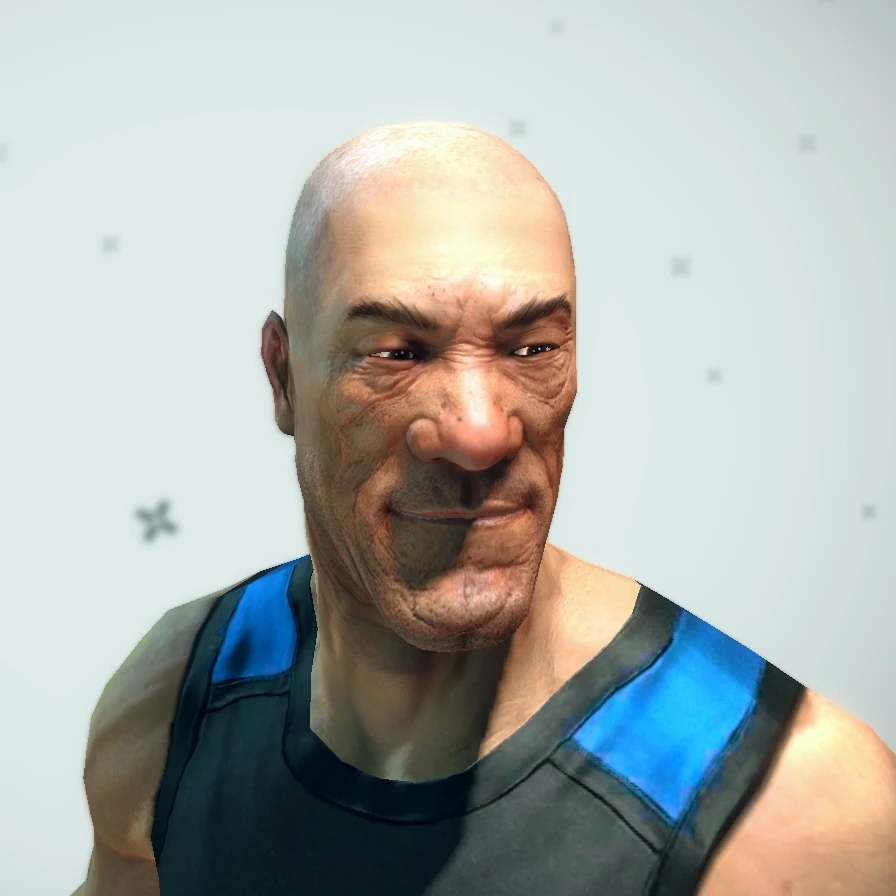
|
|
|
|
| |||||
| The Smooth | 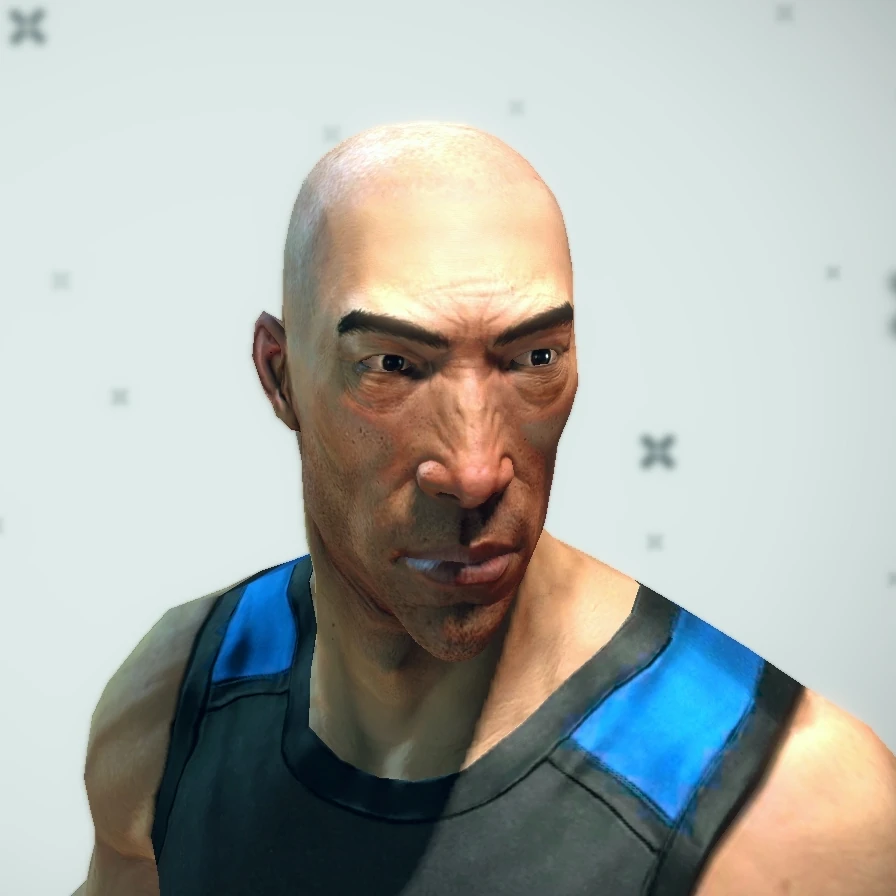
|
|
|
|
| |||||
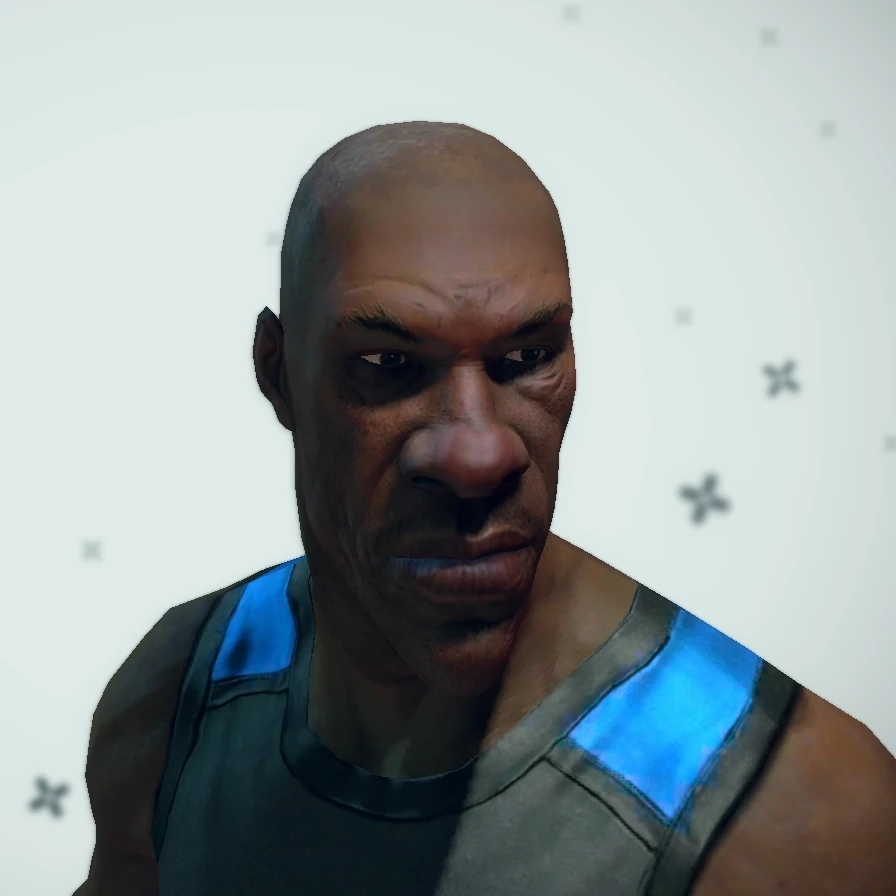
| The Bruiser | 
|
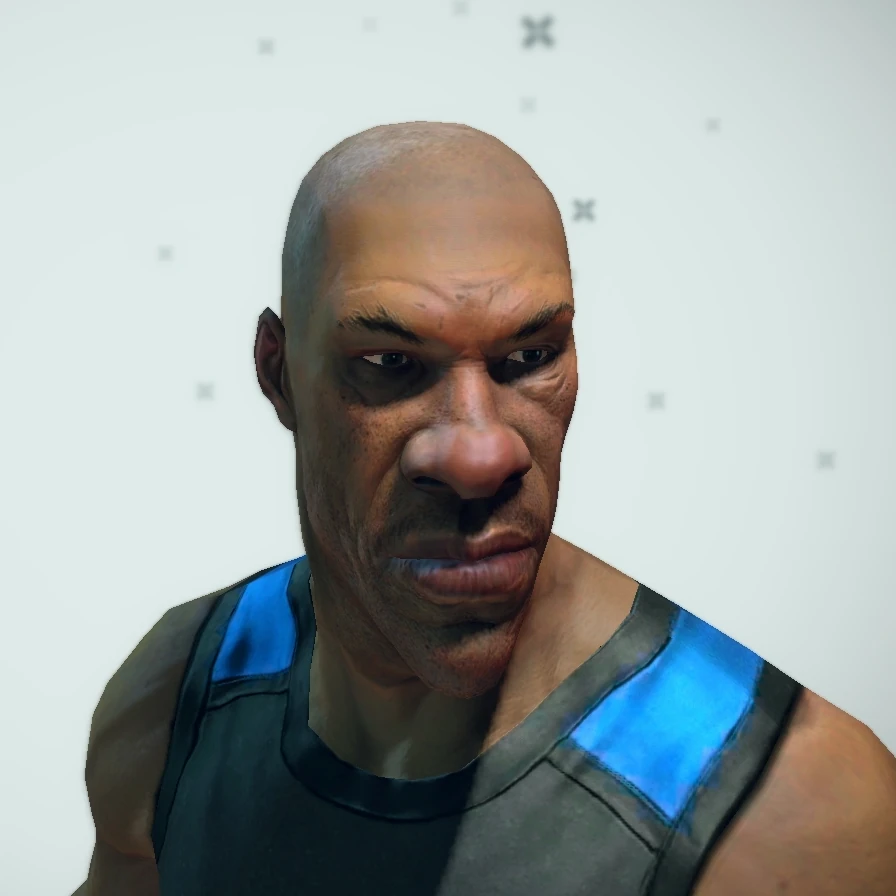
|

|
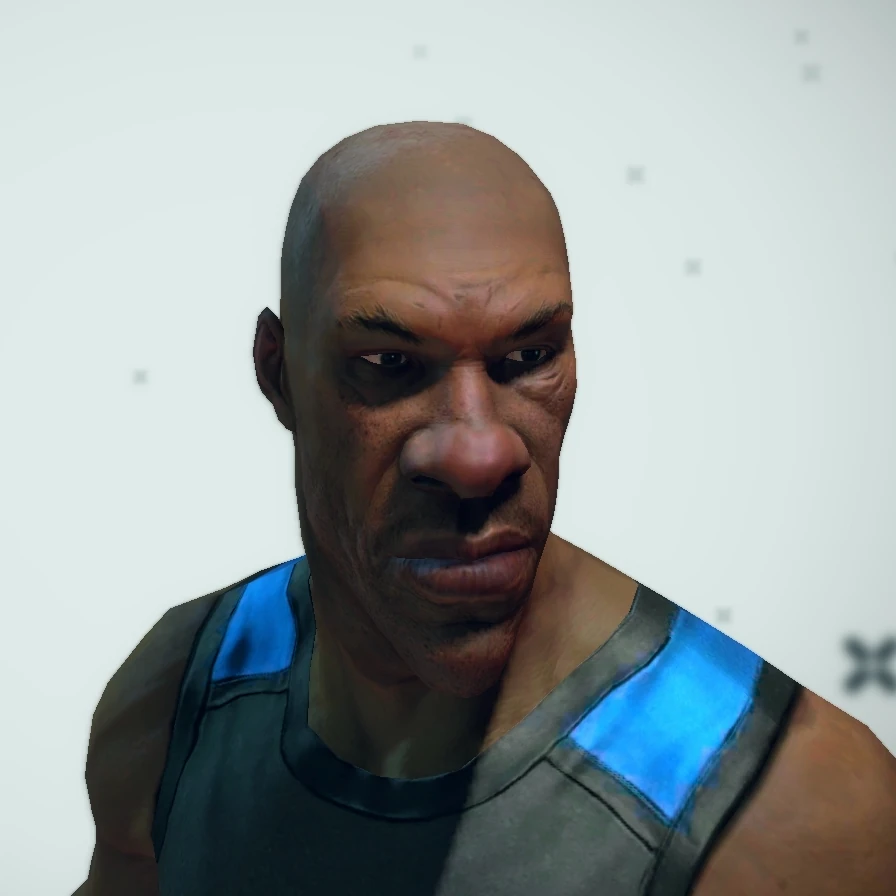
|
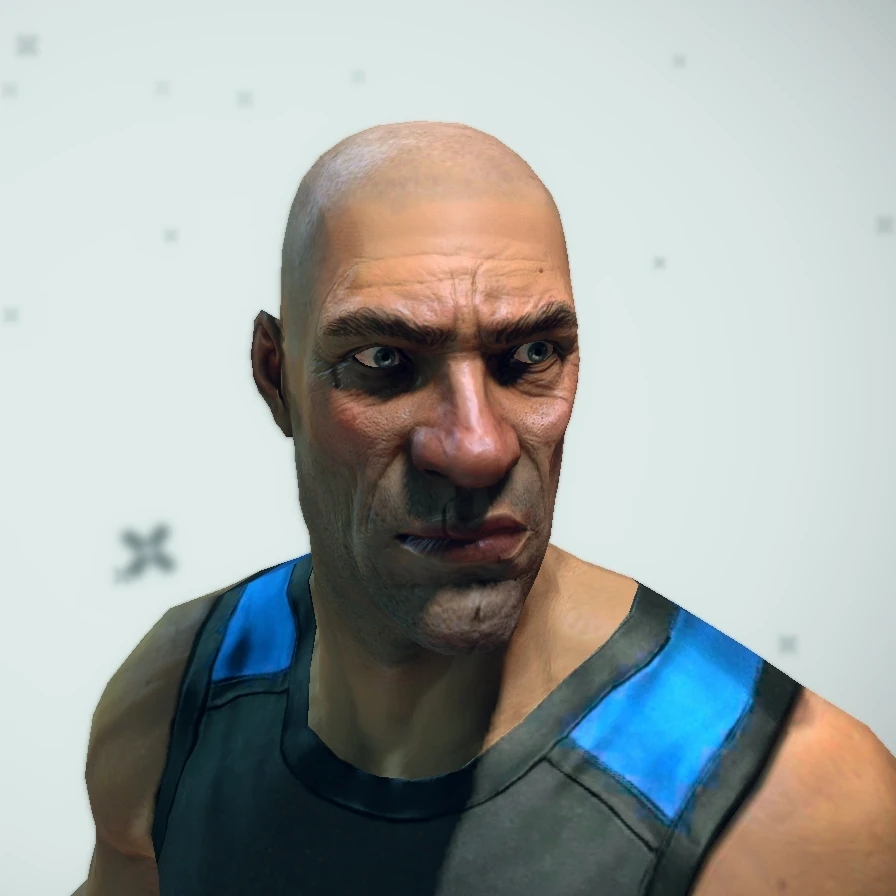
| |||||
| The Psycho | 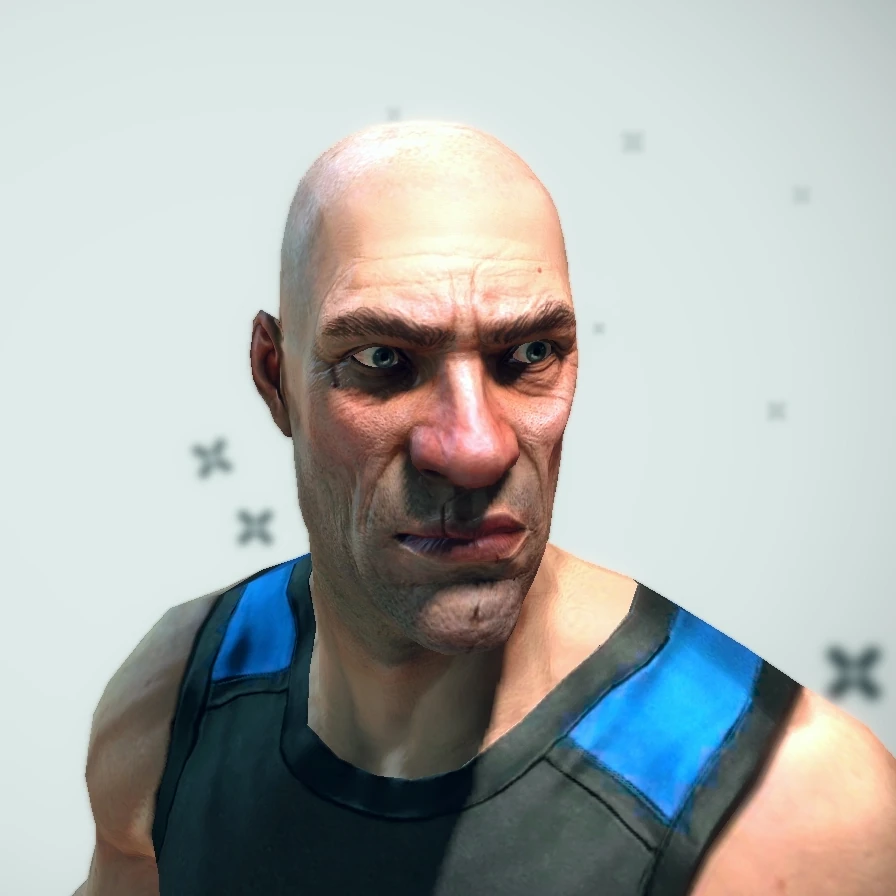
|
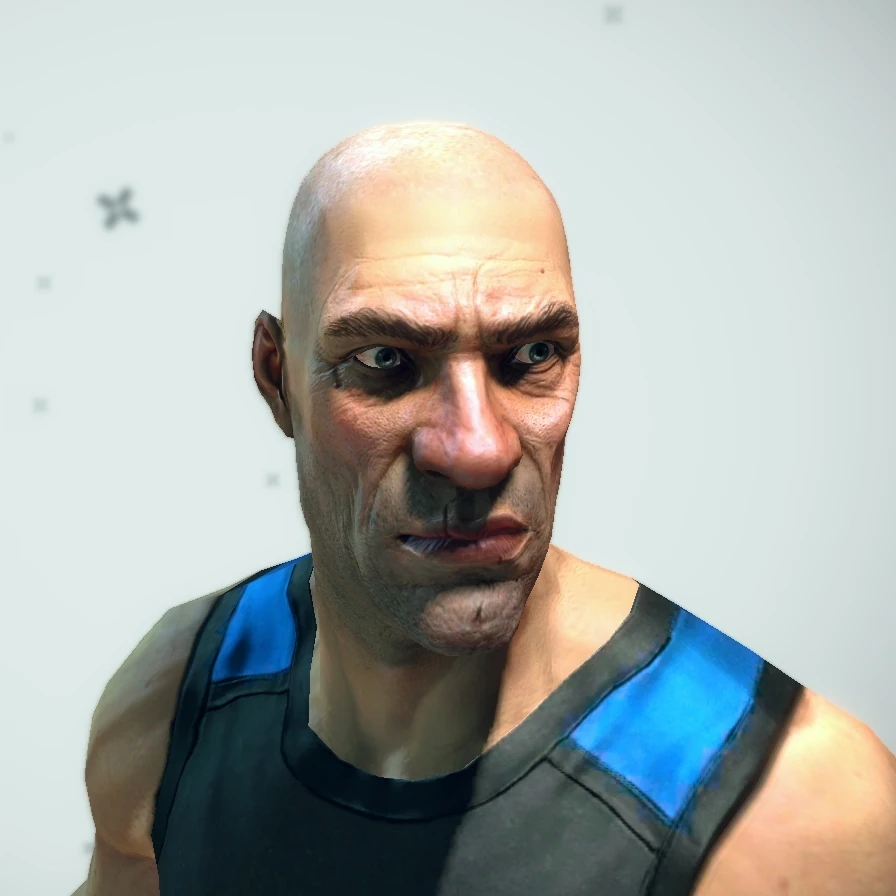
|

|
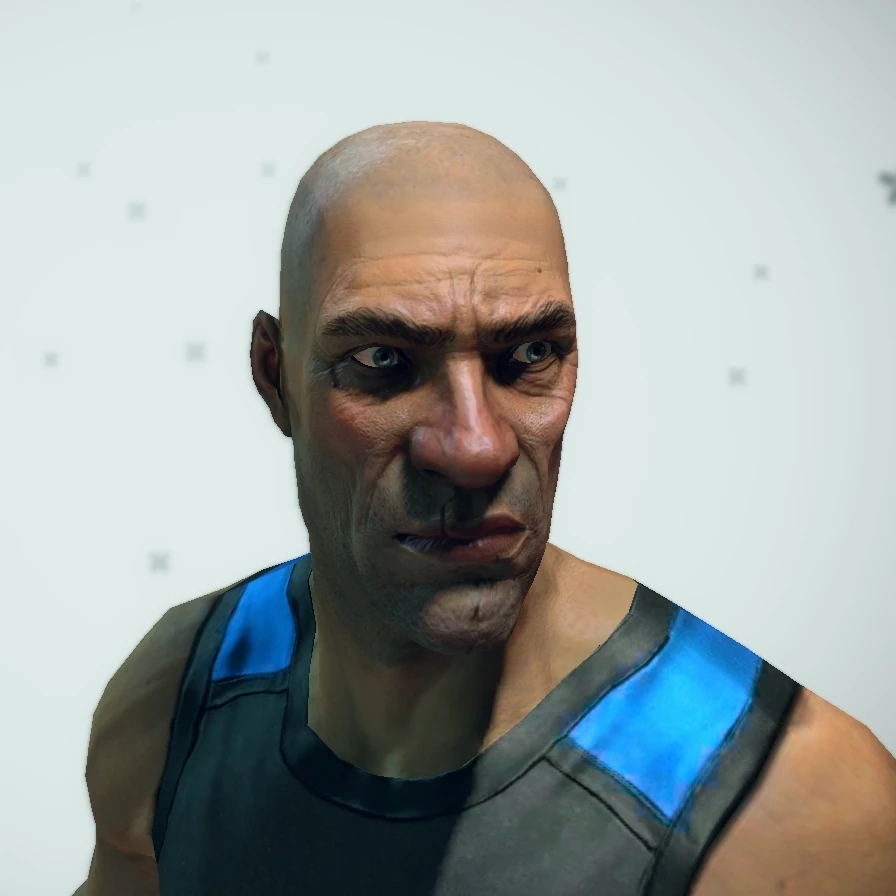
|
| |||||
| The Young | 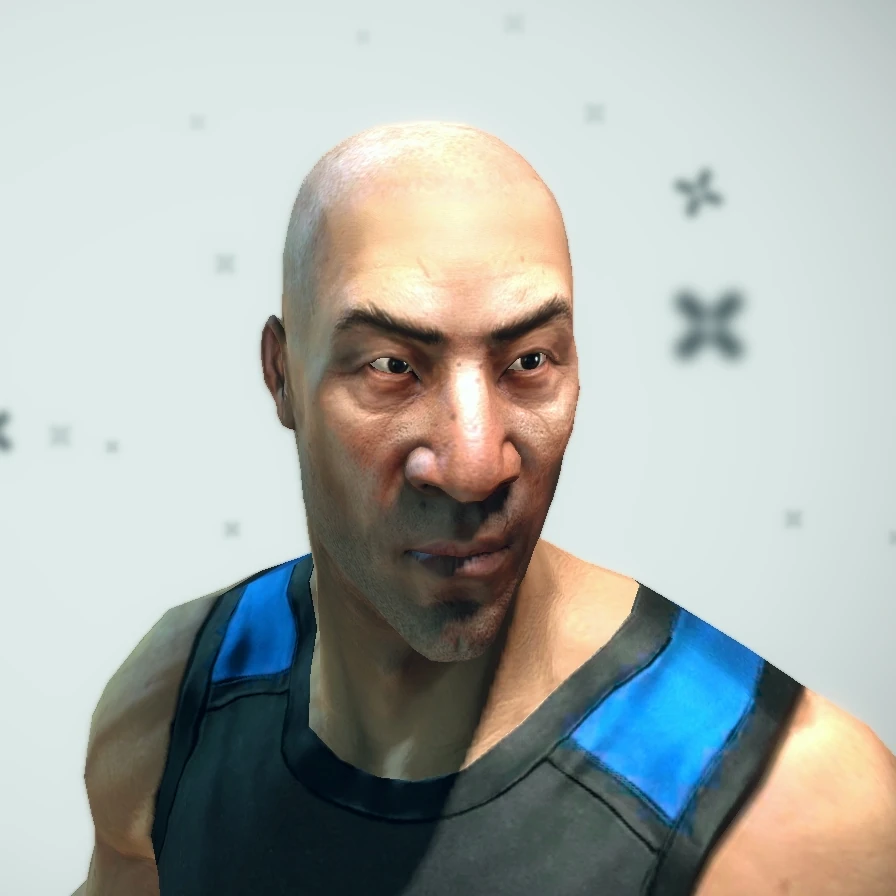
|
|

|
|
| |||||
| The Sour | 
|
|
|

|
| |||||
| The Veteran | 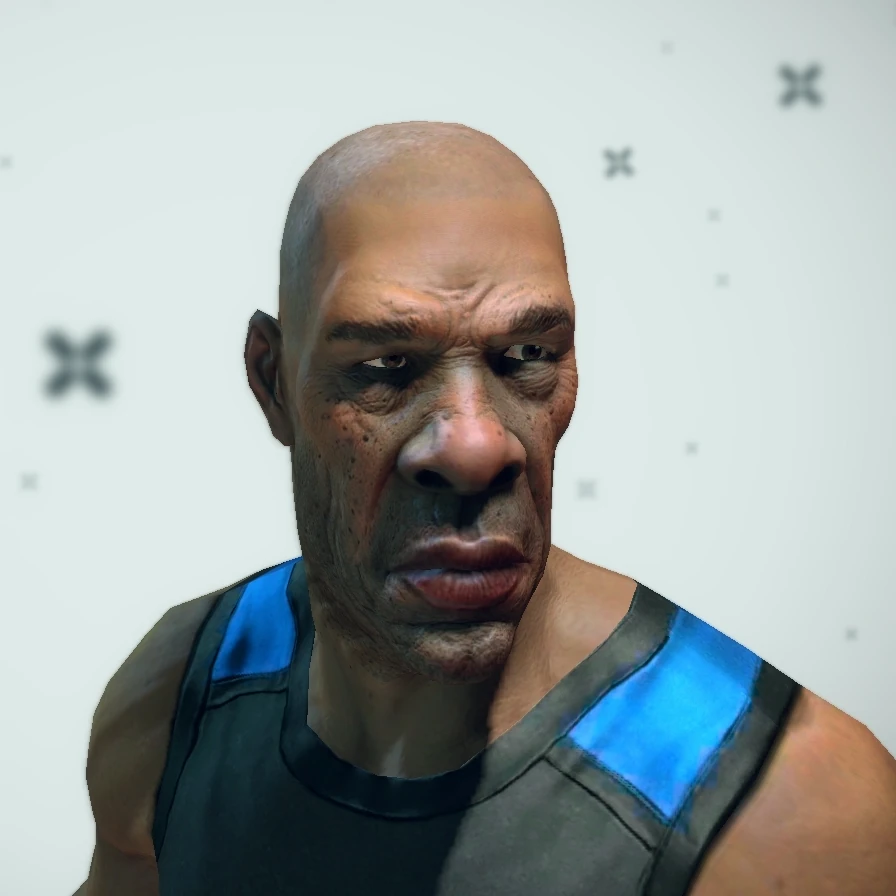
|

|
|

|
| |||||
| The Suave | 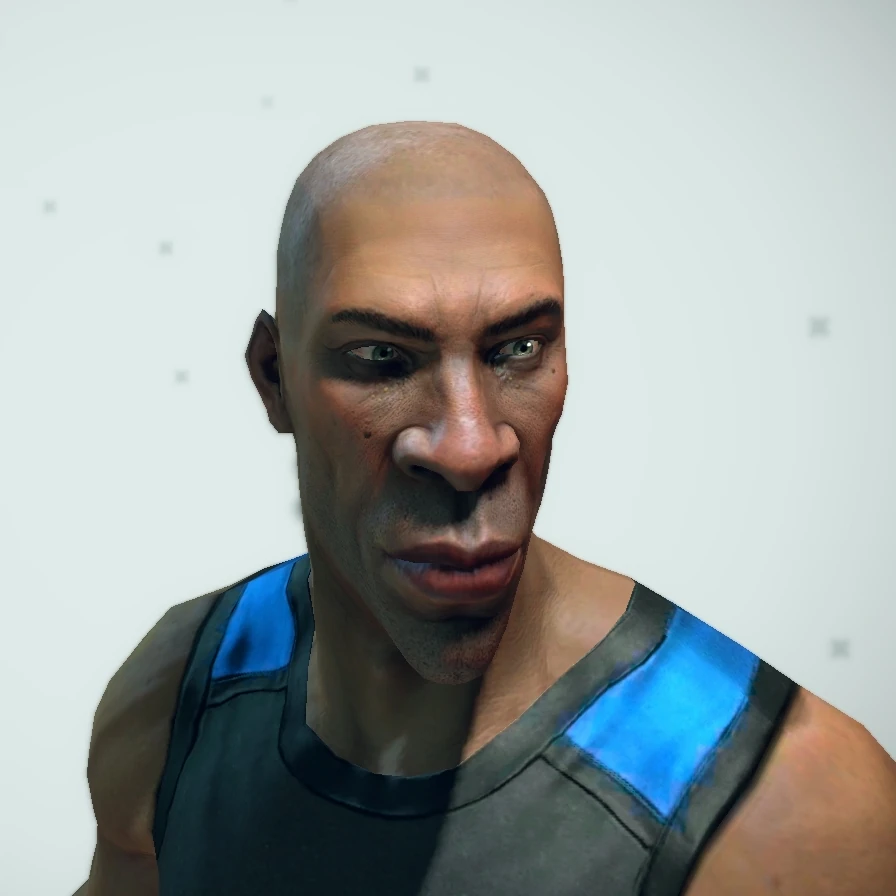
|

|
|
|

| |||||
Security Archetypes[]


- The Bomb
- The Bouncer
- The Bug
- The Eel
- The Freak
- The Good Cop
- The Jesse
- The Look
- The Shield
- The Tank
- The Unit
- The Limey (Agents of Change DLC)
Resistance Archetypes[]


- The Anger
- The Boiler Suit
- The Dude
- The Firestarter
- The Fortress
- The G
- The Lost
- The Sweat
- The Voice
- The Warrior
- The Wasted
- The Sad Punk (Agents of Change DLC)
| Archetypes | ||
|---|---|---|
| Security | The Bomb · The Bouncer · The Bug · The Jesse · The Tank · The Unit · The Eel · The Freak · The Good Cop · The Limey · The Look · The Shield | |
| Resistance | The Anger · The Boiler Suit · The Firestarter · The G · The Sweat · The Sad Punk · The Dude · The Fortress · The Lost · The Voice · The Warrior · The Wasted | |